配置Tomcat
下载链接:/img/oss/picGo/apache-tomcat-8.5.57.tar.gz
然后上传到服务器,解压
1
2
3
4
5
| tar -zxvf apache-tomcat-8.5.57.tar.gz
#创建目录
mkdir /opt/tomcat
#移动文件
mv apache-tomcat-8.5.57/* /opt/tomcat/
|
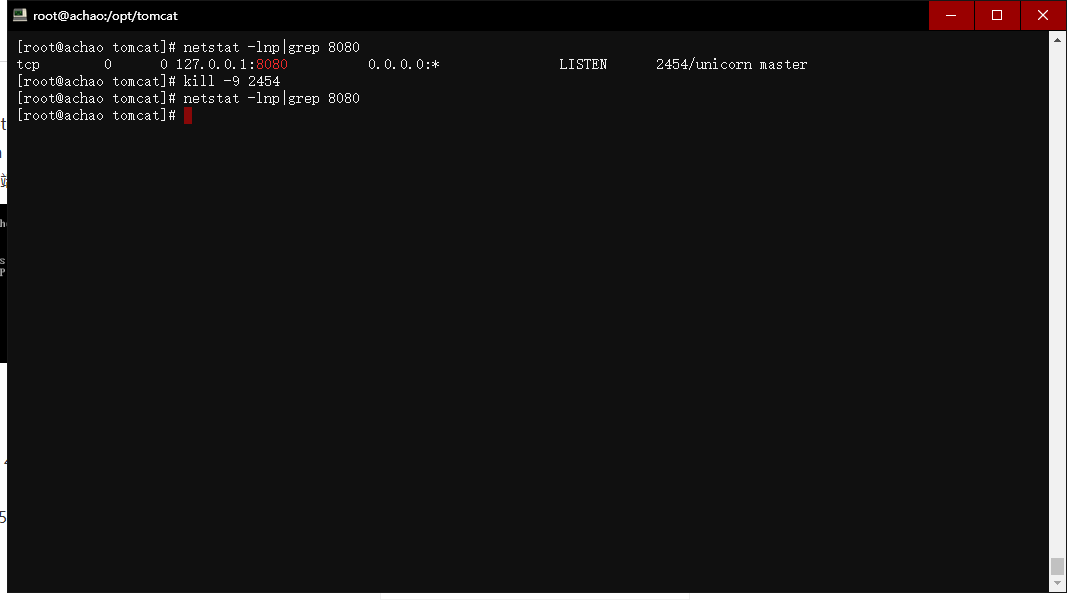
检测8080端口是否被占用
1
2
3
4
5
| netstat -ntpl
#查看指定端口
netstat -lnp|grep 8080
#解除占用
kill -9 [端口号]
|
1
2
3
4
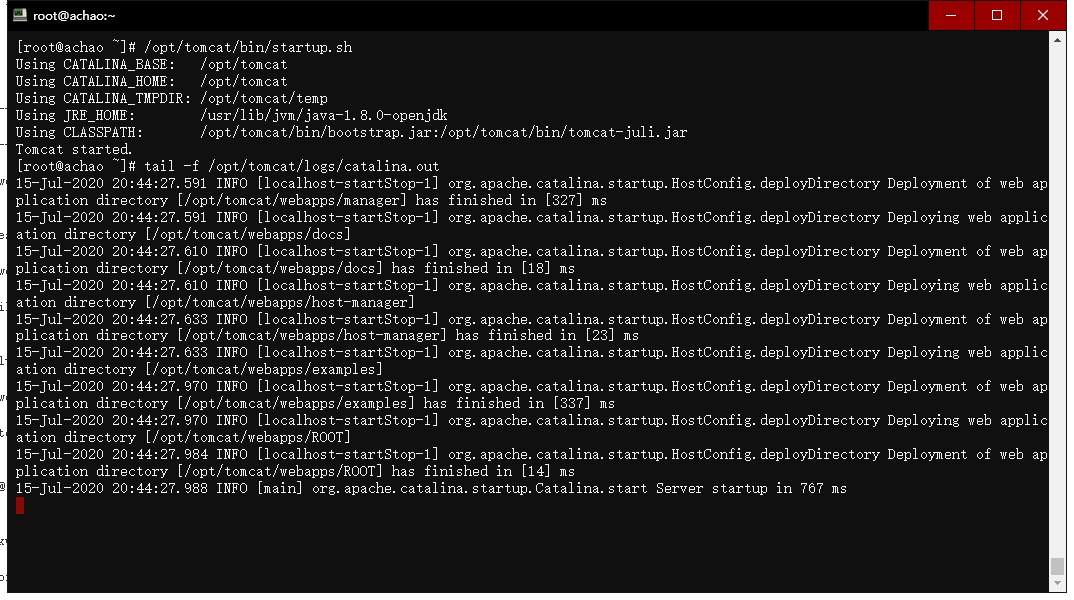
| #运行tomcat8
/opt/tomcat/bin/startup.sh
#查看日志
tail -f /opt/tomcat/logs/catalina.out
|
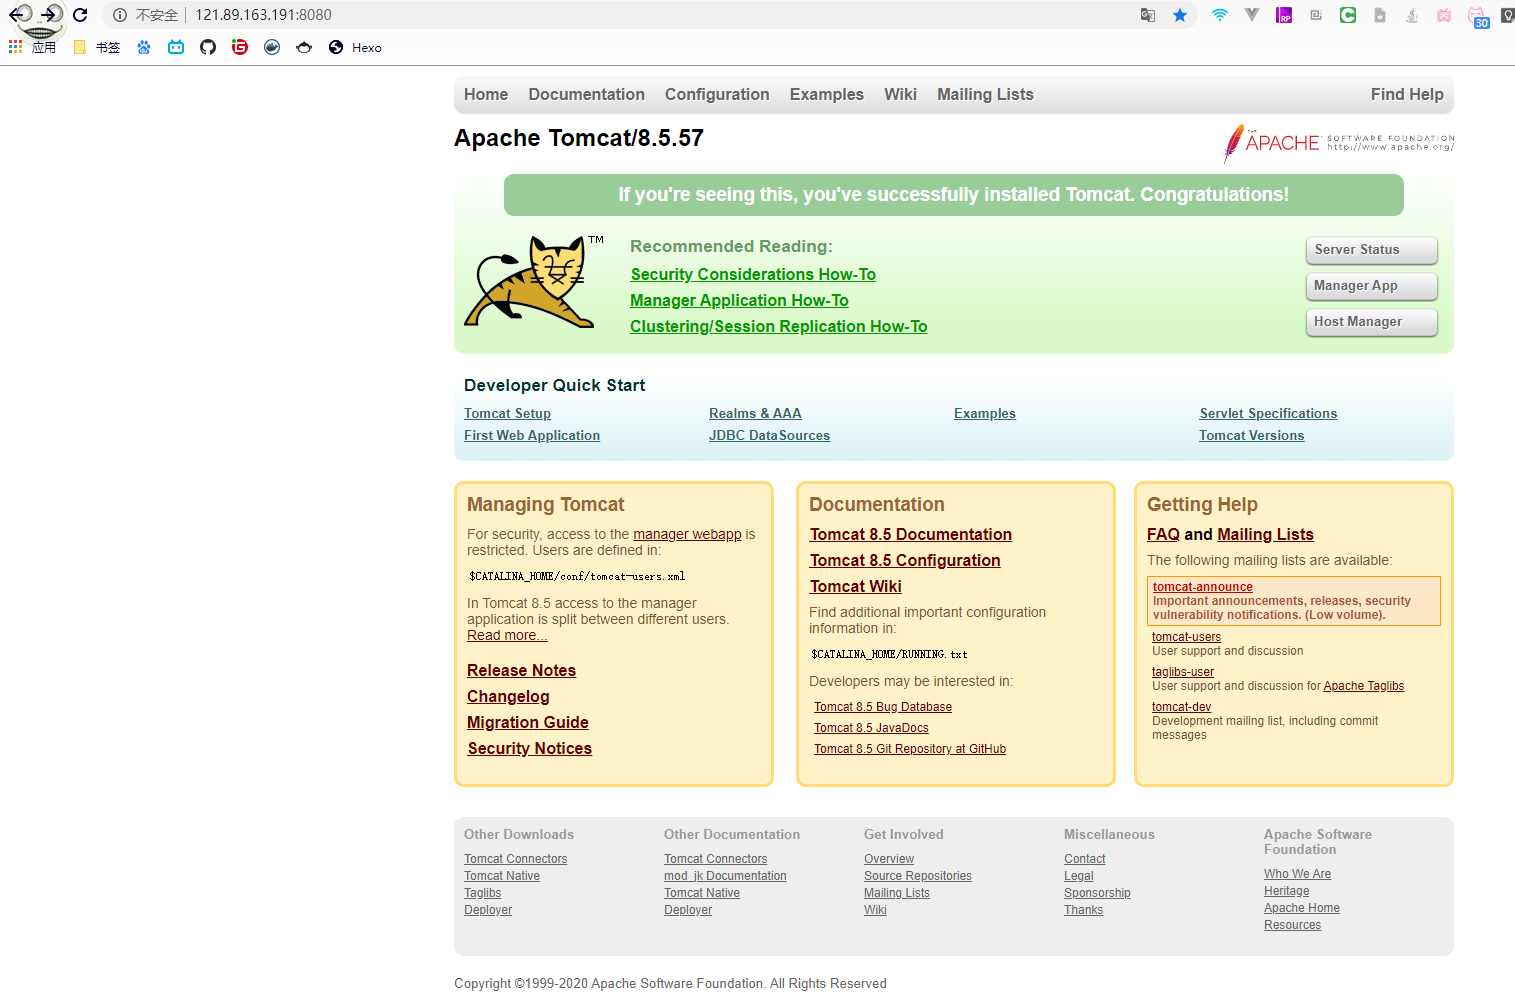
访问
注意。。。我这里是改了Gitlab的端口,否则会导致端口占用,要么tomcat启动不了,要么Gitlab502
1
2
3
4
5
6
7
8
9
10
11
12
13
14
15
16
17
18
19
20
21
| #更改gitlab配置文件
vim /etc/gitlab/gitlab.rb
#找到
# unicorn['port'] = 8080
#改成
unicorn['port'] = 7534
#然后重载配置
gitlab-ctl reconfigure
#重启
gitlab-ctl restart
#如果还是502
vim /etc/gitlab/gitlab.rb
#输入
dd if=/dev/zero of=/mnt/swap bs=512 count=8388616
mkswap /mnt/swap
vim /etc/sysctl.conf
#然后修改
vm.swappiness = 60
#继续执行
swapon /mnt/swap
echo "/data/swap swap swap defaults 0 0" >> /etc/fstab
|
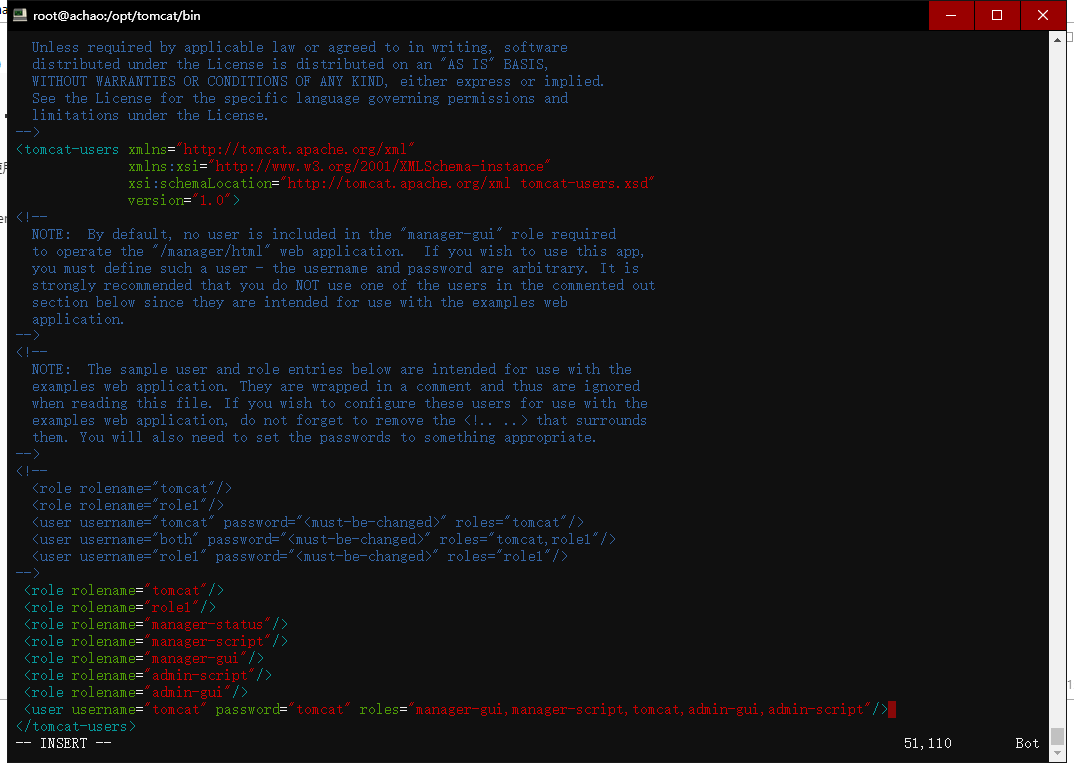
添加tomcat角色
1
| vim /opt/tomcat/conf/tomcat-users.xml
|
在tomcat-users标签下添加
1
2
3
4
5
6
7
8
| <role rolename="tomcat"/>
<role rolename="role1"/>
<role rolename="manager-status"/>
<role rolename="manager-script"/>
<role rolename="manager-gui"/>
<role rolename="admin-script"/>
<role rolename="admin-gui"/>
<user username="tomcat" password="tomcat" roles="manager-gui,manager-script,tomcat,admin-gui,admin-script"/>
|
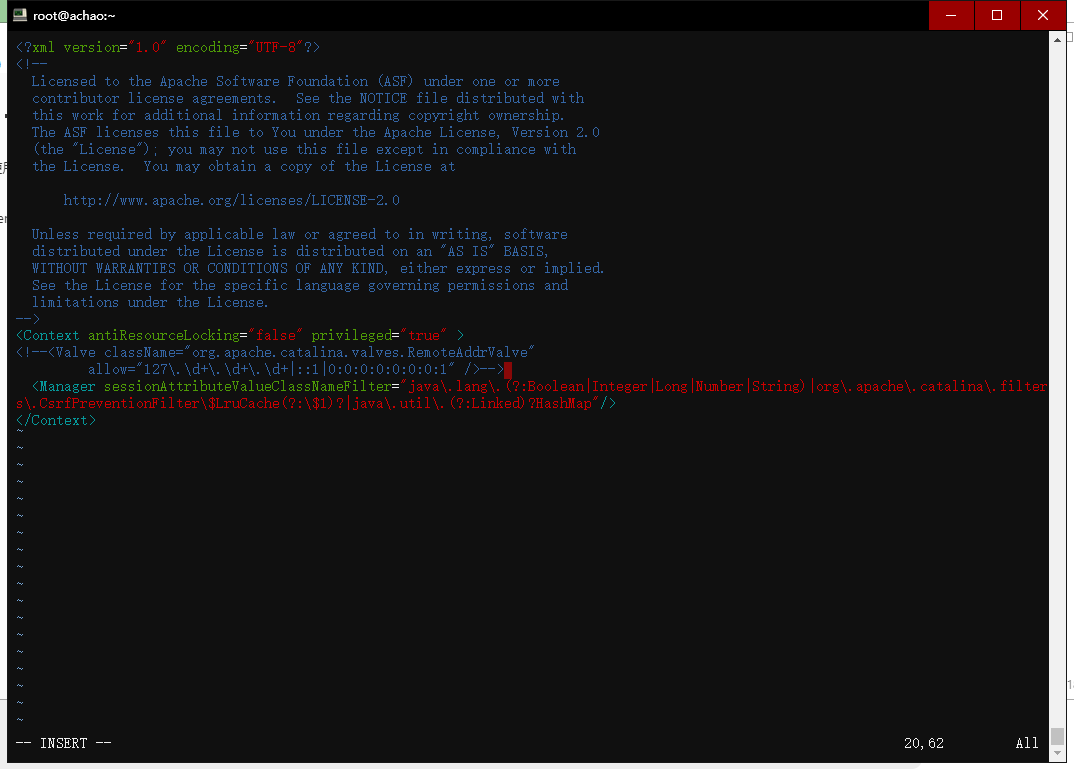
然后进入这个文件
1
| vim /opt/tomcat/webapps/manager/META-INF/context.xml
|
注释这段配置文件
重启
1
2
| /opt/tomcat/bin/shutdown.sh
/opt/tomcat/bin/startup.sh
|
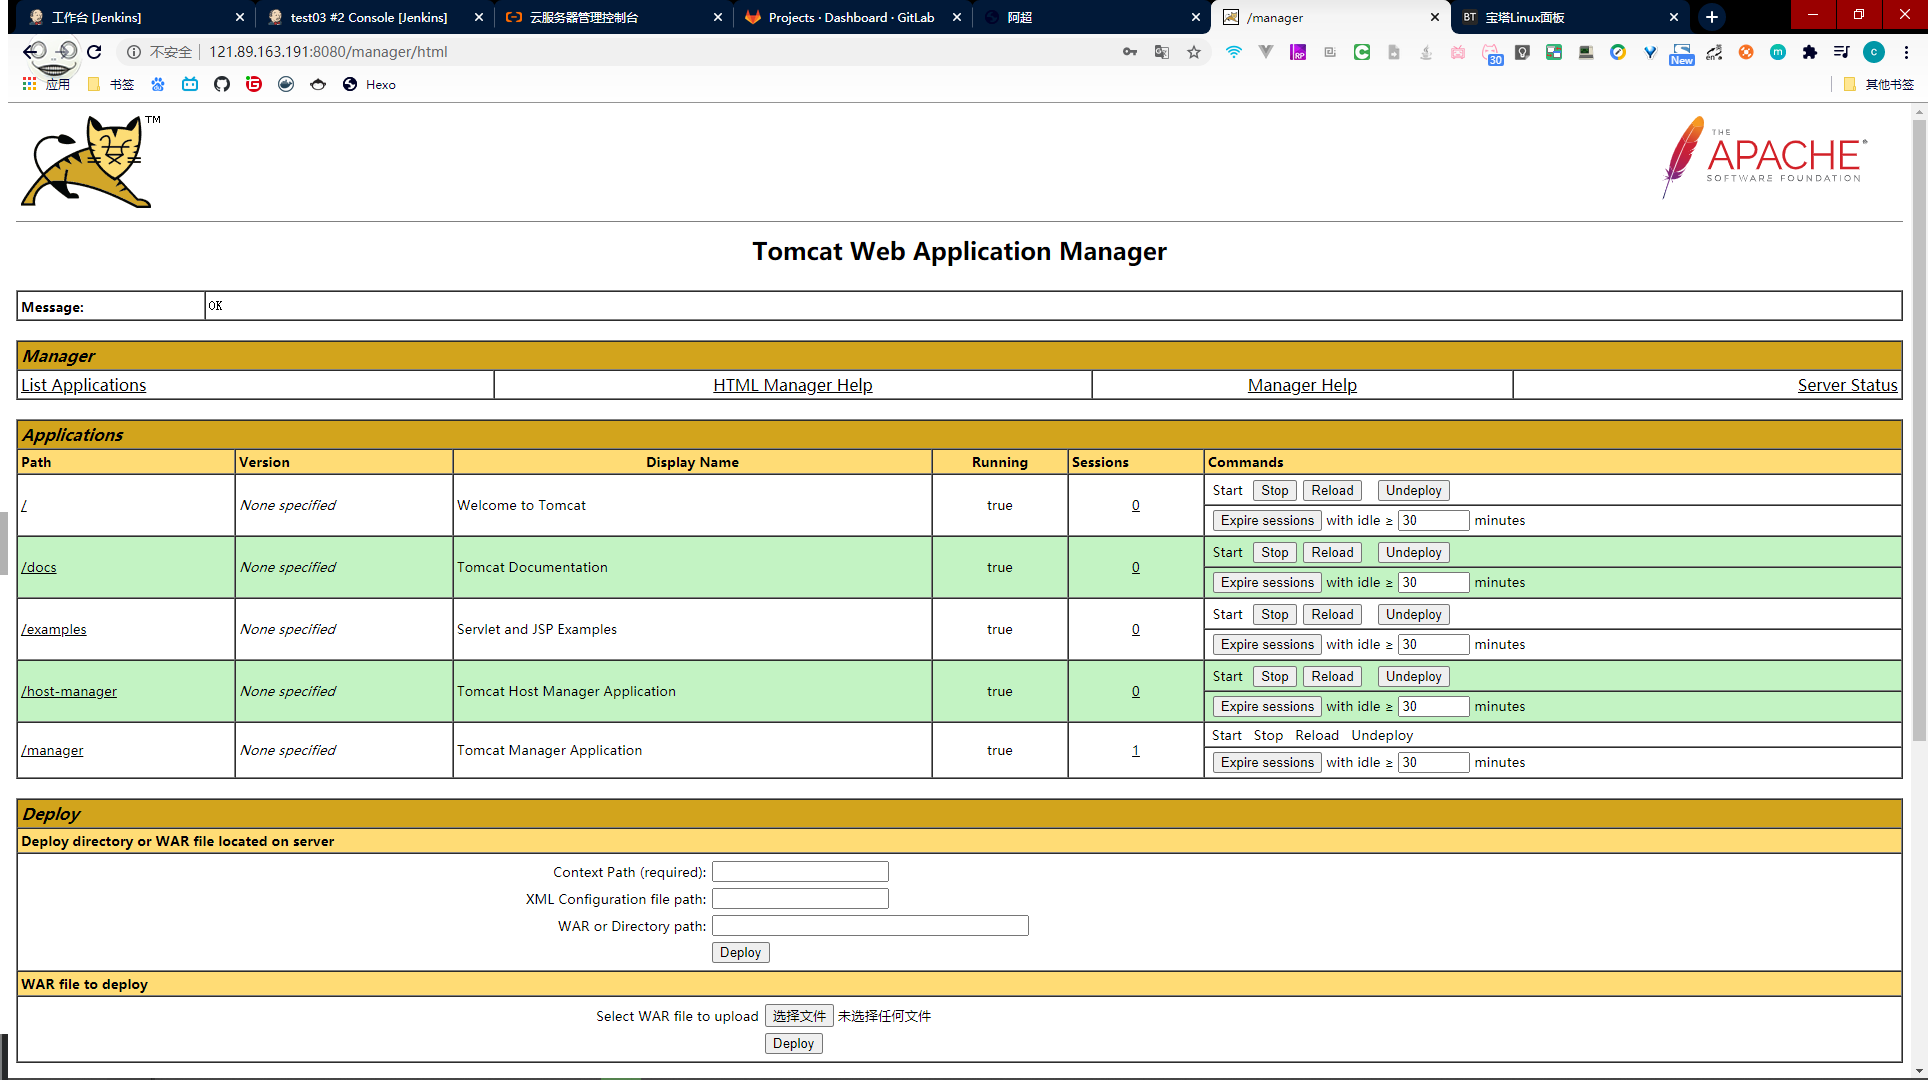
如果我们访问tomcat,点击manager webapp
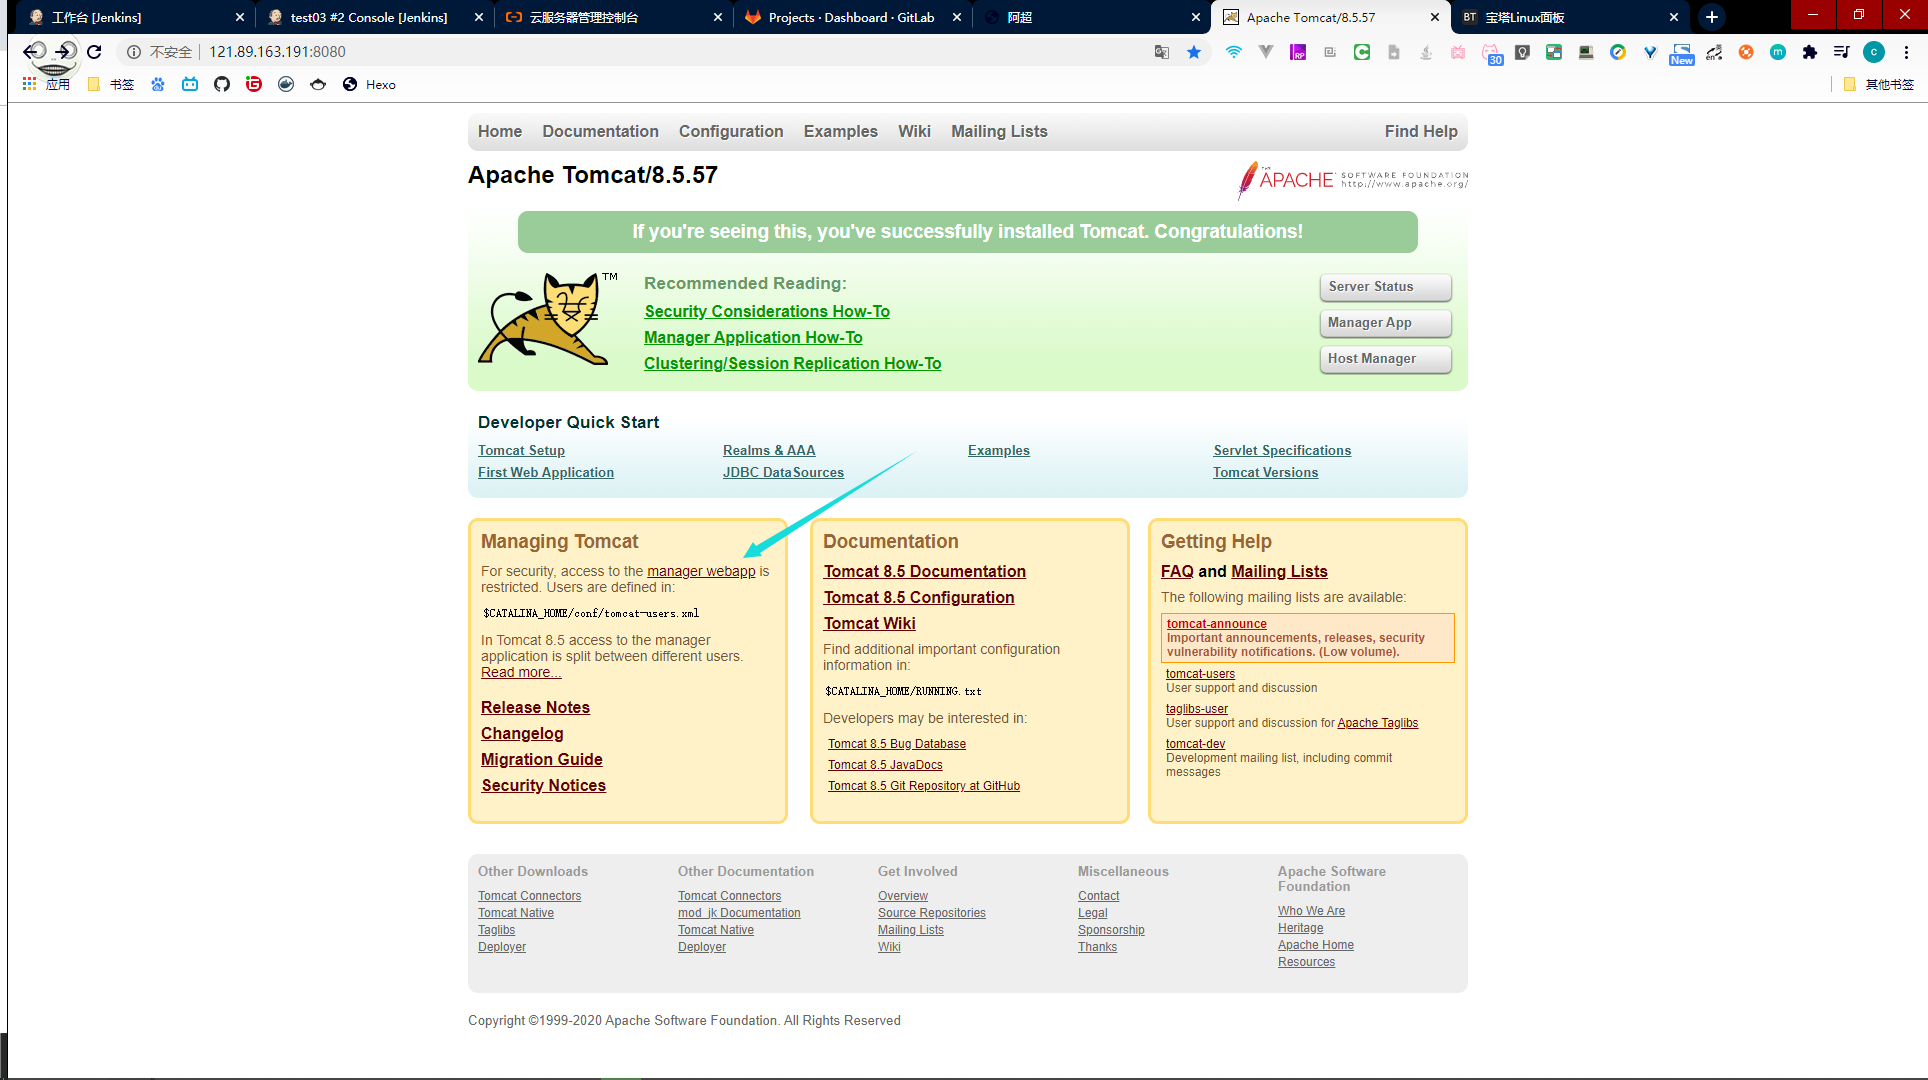
会弹出一个框,这样说明配置生效了
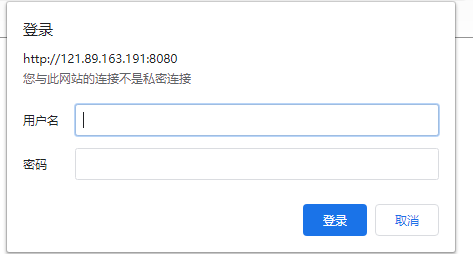
输入我们配置的用户名tomcat和密码tomcat
进到这个页面说明大功告成!