大家经常被注册登录繁琐的步骤击退,经常进几个不同的网站要输入几次用户密码,特别繁琐
所以社交账号登录出现了,也就是说用QQ微信微博等社交账号就可以登录其他网站
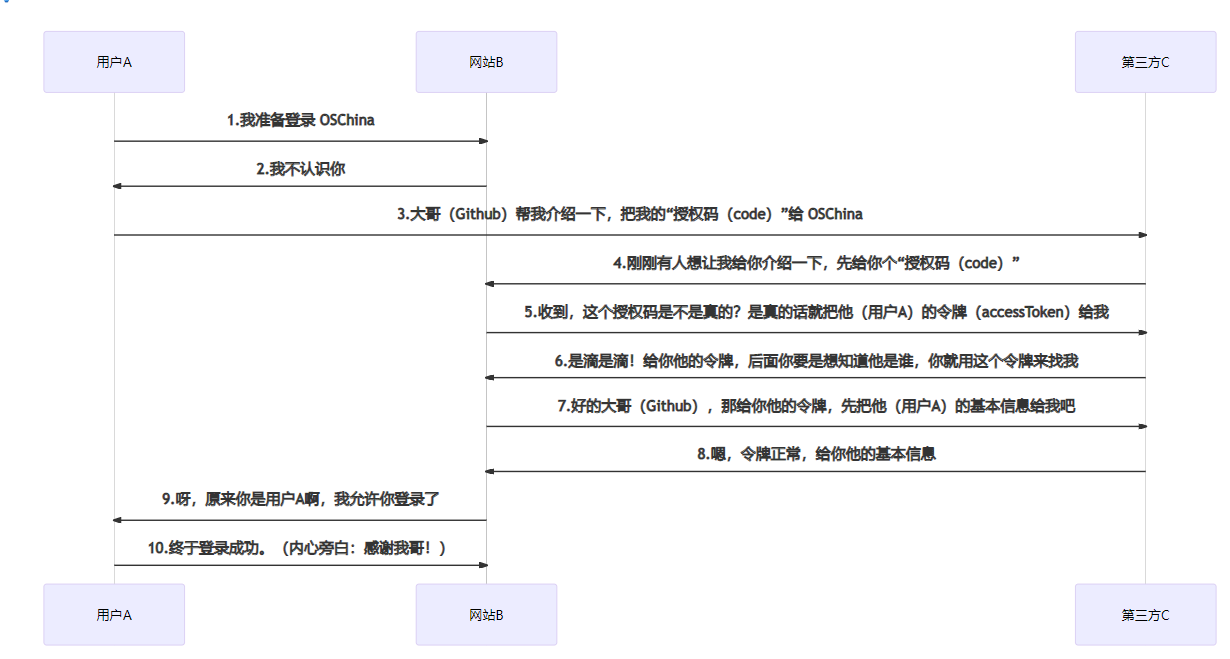
OAuth 2.0是用于授权的行业标准协议。OAuth 2.0致力于简化客户端开发人员,同时为Web应用程序,桌面应用程序,移动电话和客厅设备提供特定的授权流程。该规范及其扩展正在IETF OAuth工作组内开发。
Oauth 2.0文档
流程图如下:
1
2
3
4
5
6
7
8
9
10
11
12
13
14
15
16
17
| +--------+ +---------------+
| |--(A)- Authorization Request ->| Resource |
| | | Owner |
| |<-(B)-- Authorization Grant ---| |
| | +---------------+
| |
| | +---------------+
| |--(C)-- Authorization Grant -->| Authorization |
| Client | | Server |
| |<-(D)----- Access Token -------| |
| | +---------------+
| |
| | +---------------+
| |--(E)----- Access Token ------>| Resource |
| | | Server |
| |<-(F)--- Protected Resource ---| |
+--------+ +---------------+
|
抽象OAuth 2.0流程描述了四个角色之间的交互,包括以下步骤:
(A)客户端请求资源所有者的授权。的可以直接向资源所有者发出授权请求(如图所示),或者最好通过授权间接服务器作为中介。
(B)客户收到授权授权,即代表资源所有者授权的凭证,使用此定义的四种赠款类型之一表示规范或使用扩展授权类型。的授权授予类型取决于客户端请求授权和支持的类型授权服务器。
(C)客户端通过向客户端进行身份验证来请求访问令牌授权服务器并显示授权授权。
(D)授权服务器对客户端进行身份验证并验证授权授予,如果有效,则颁发访问令牌。
(E)客户端从资源请求受保护的资源服务器并通过提供访问令牌进行身份验证。
(F)资源服务器验证访问令牌,如果有效,服务请求。
我们这里选用JustAuth,一个第三方授权登录的工具类库,目前支持钉钉、百度、github、gitee、微博、coding、开源中国、支付宝、qq、微信、csdn、淘宝、google、facebook、抖音、领英、微软、小米、头条、teambition、pinterest、renren、stack_overflow、华为、企业微信、酷家乐、gitlab、美团、饿了么、自定义gitlab、twitter、微信公众平台、阿里云
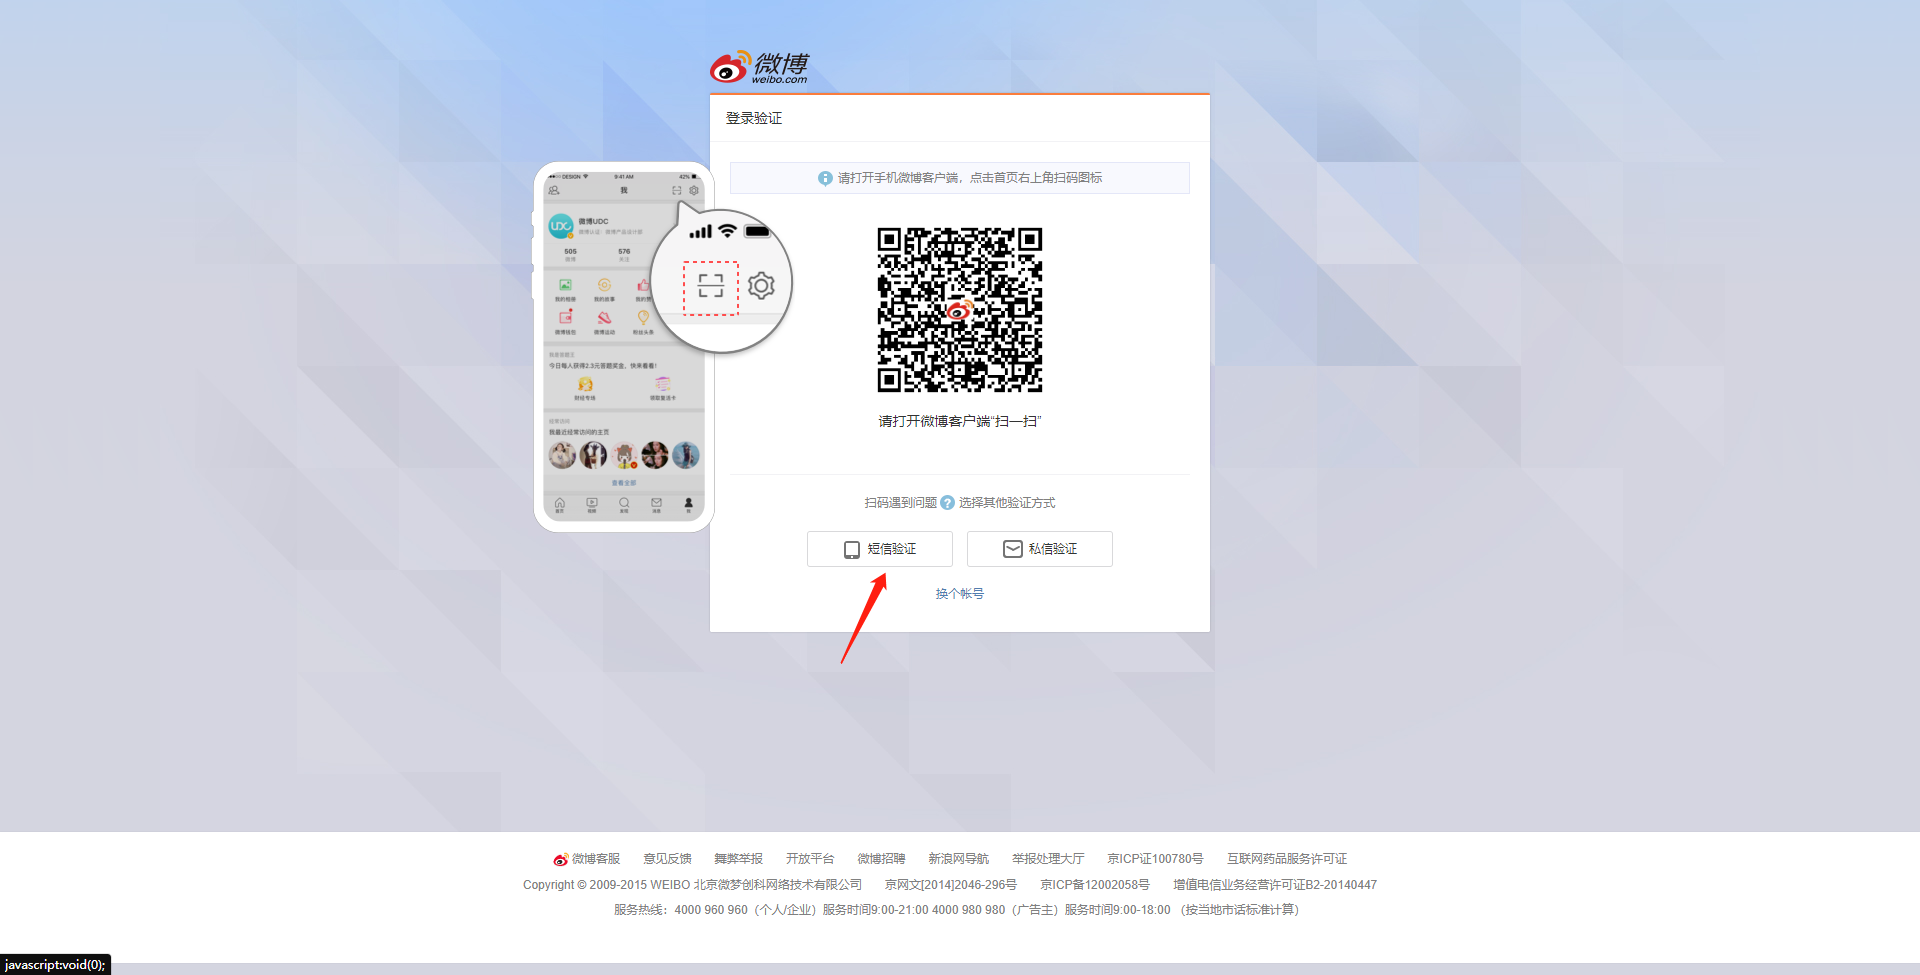
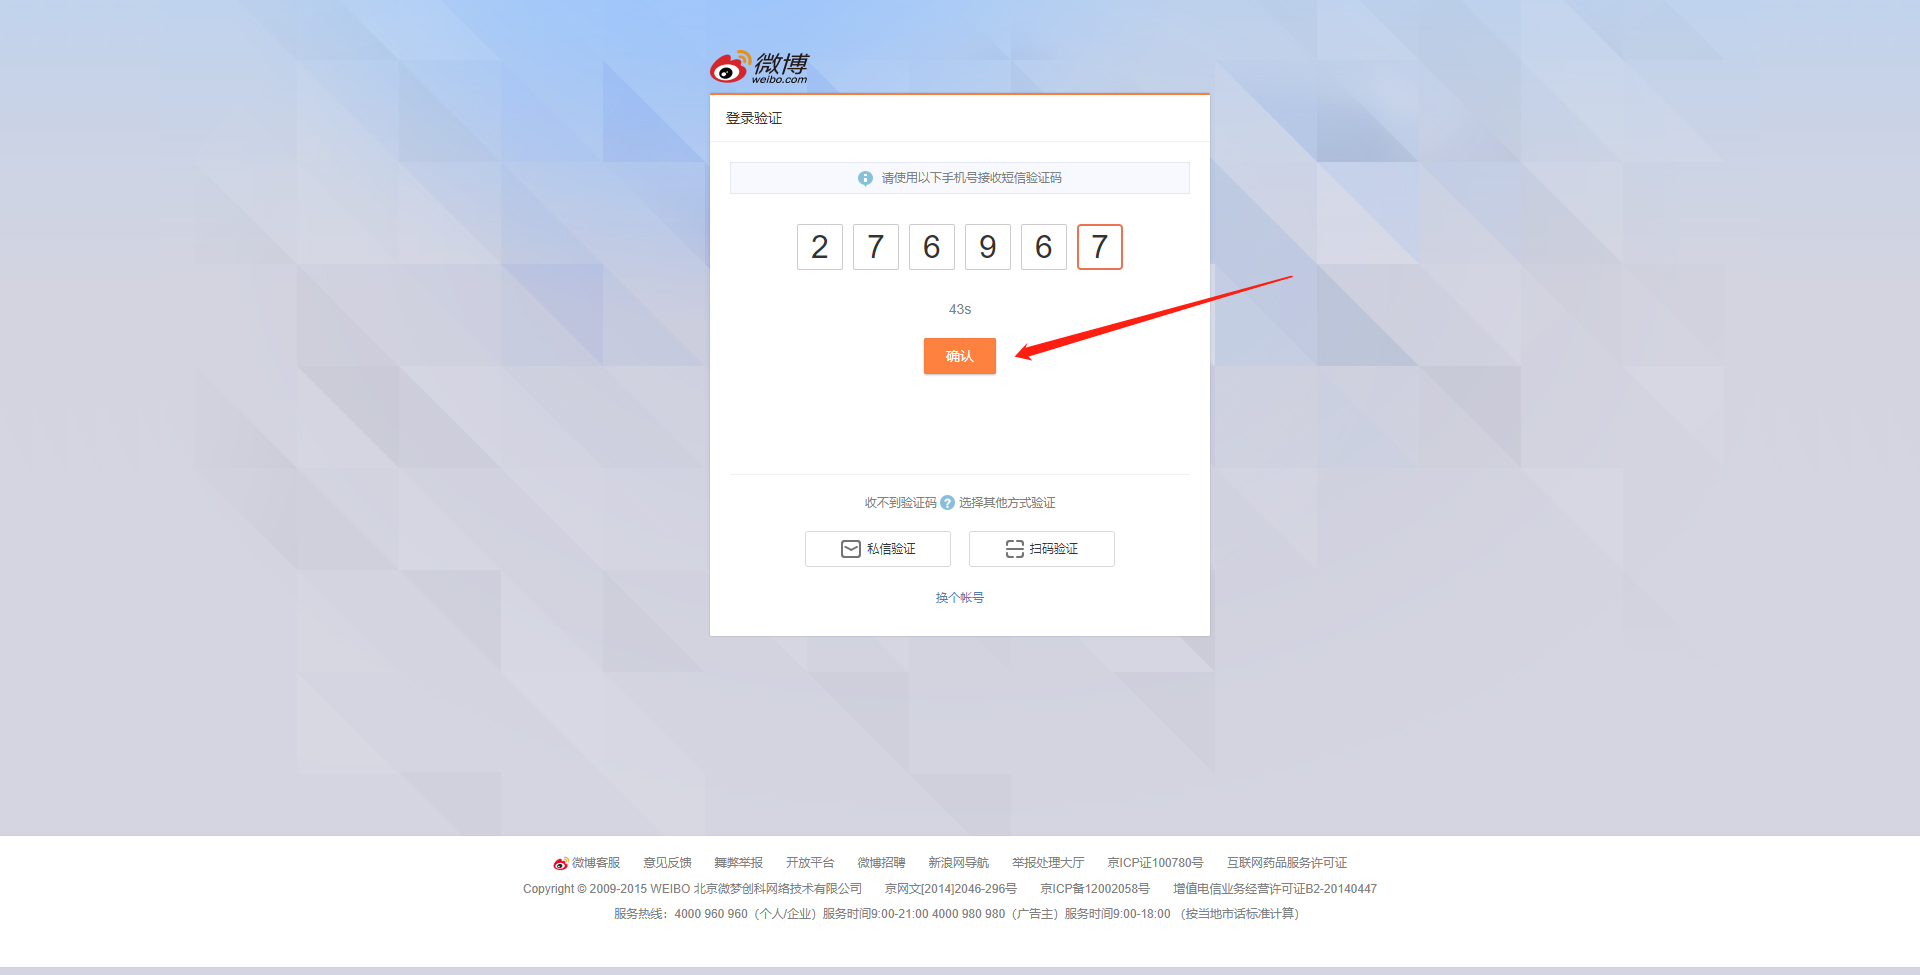
我们使用微博登录做演示
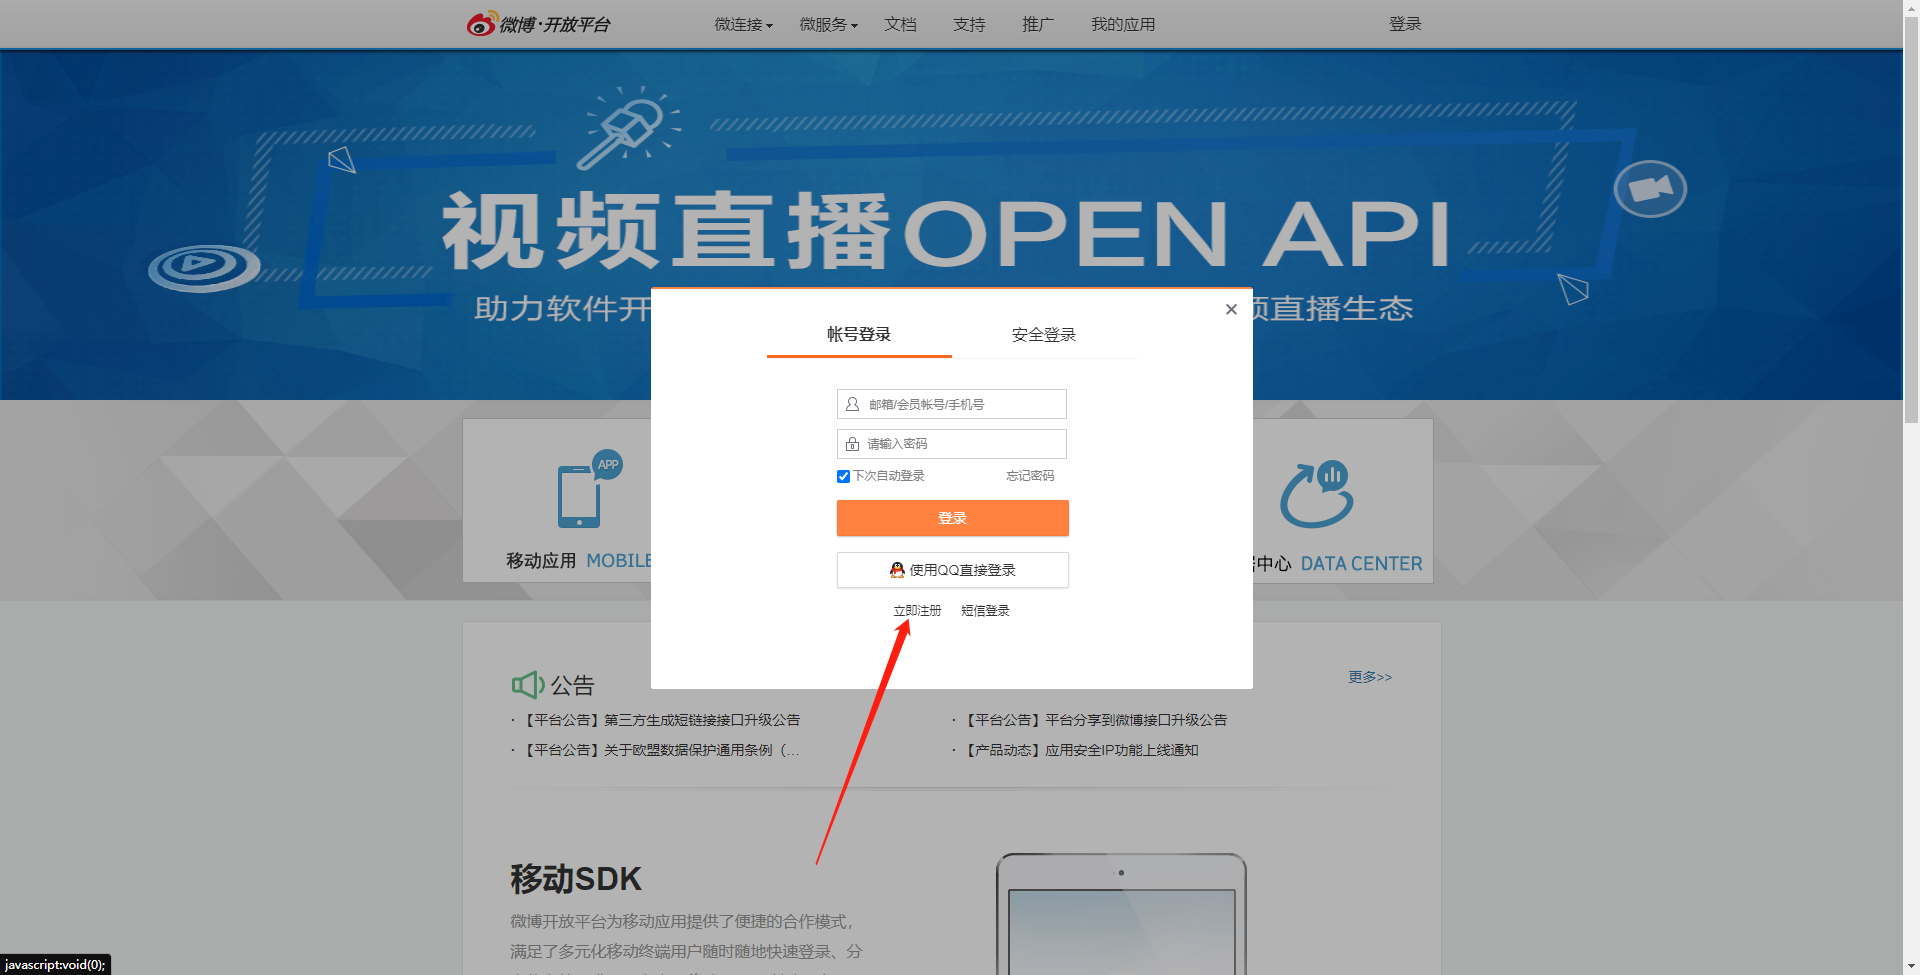
首先来到微博开放平台
点击登录

点击立即注册(有账号跳过这一步)
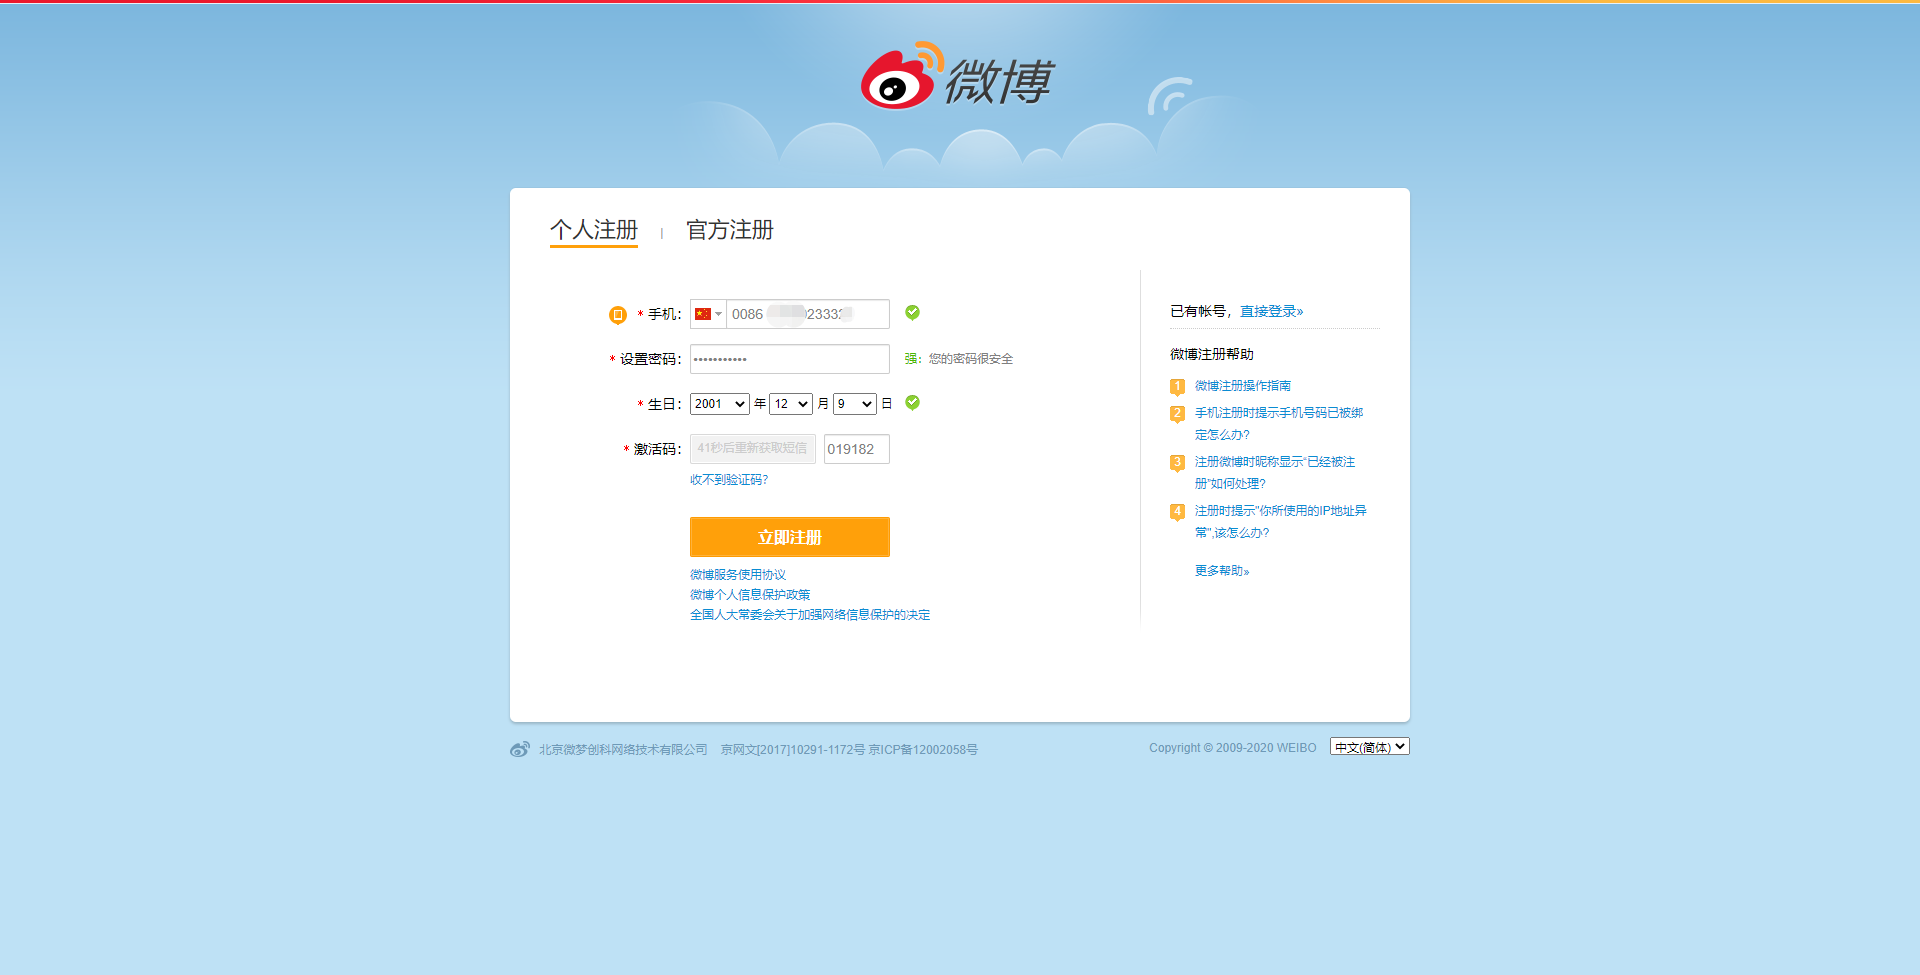
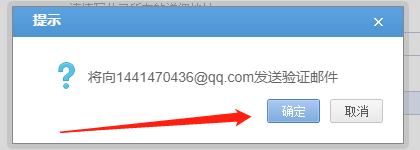
填入信息点击立即注册
注册完了回来登录
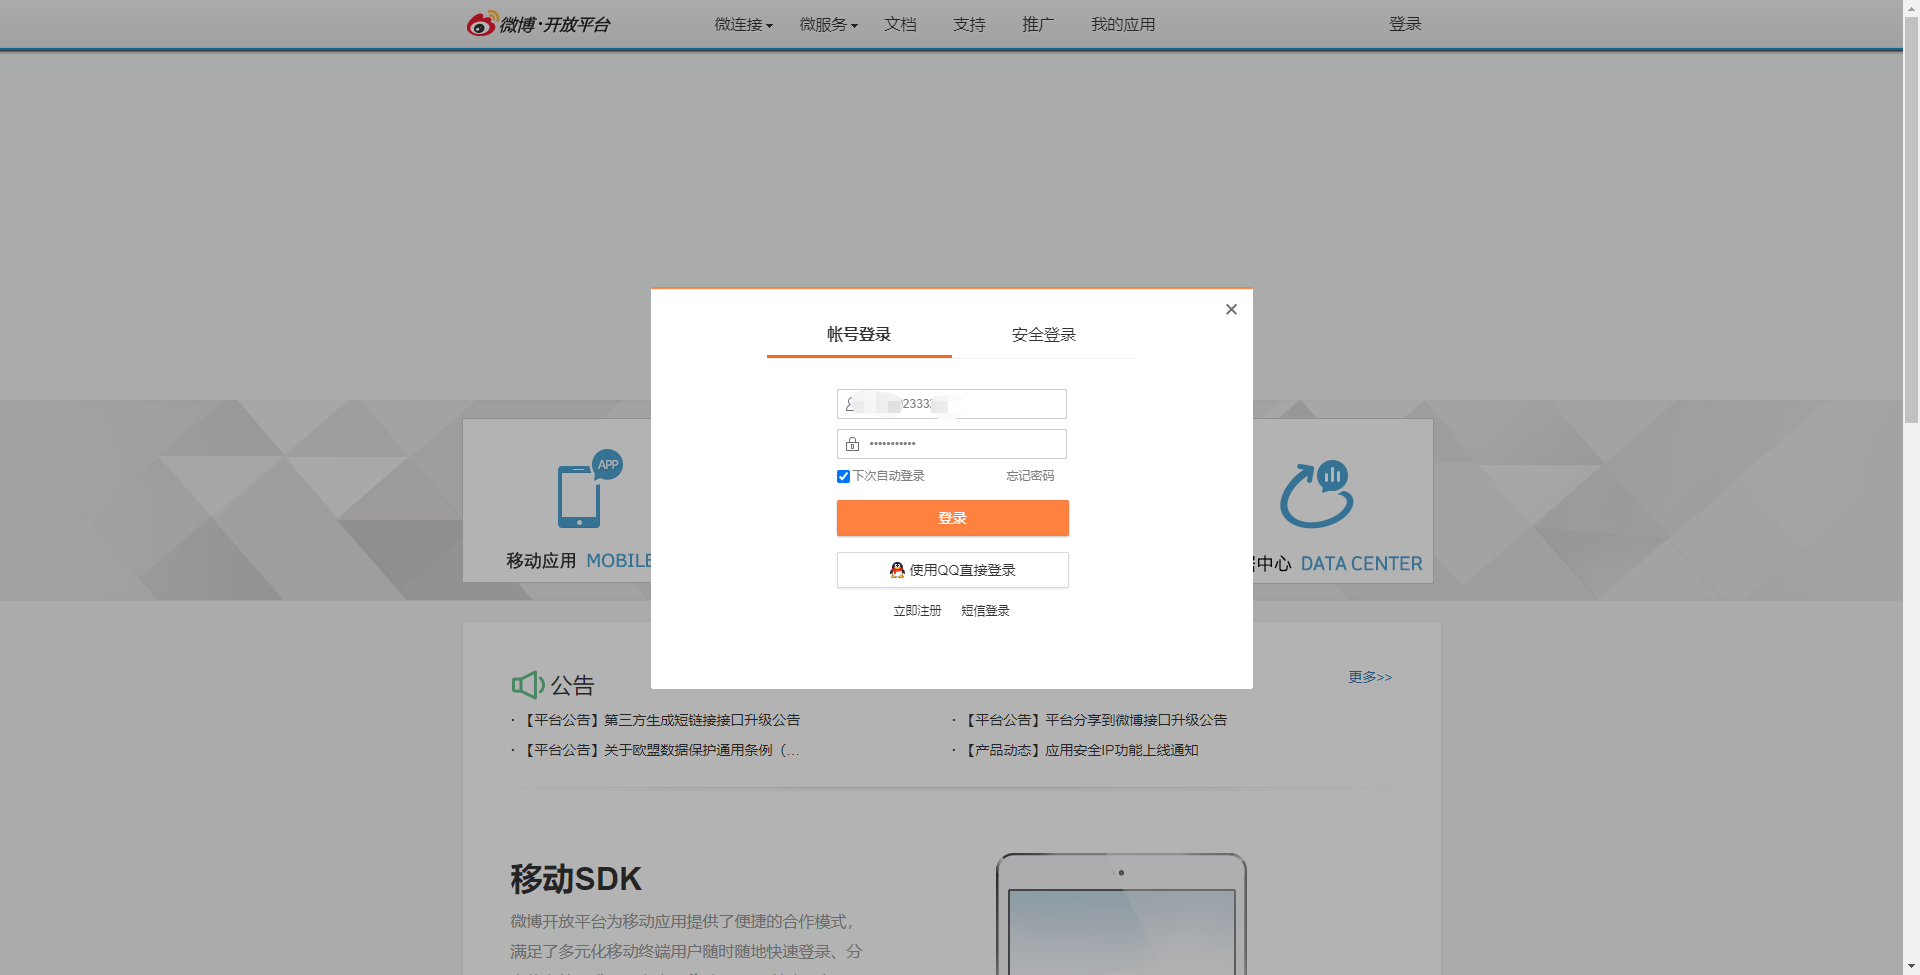
我们再回到开放平台
可以看到已经登陆了
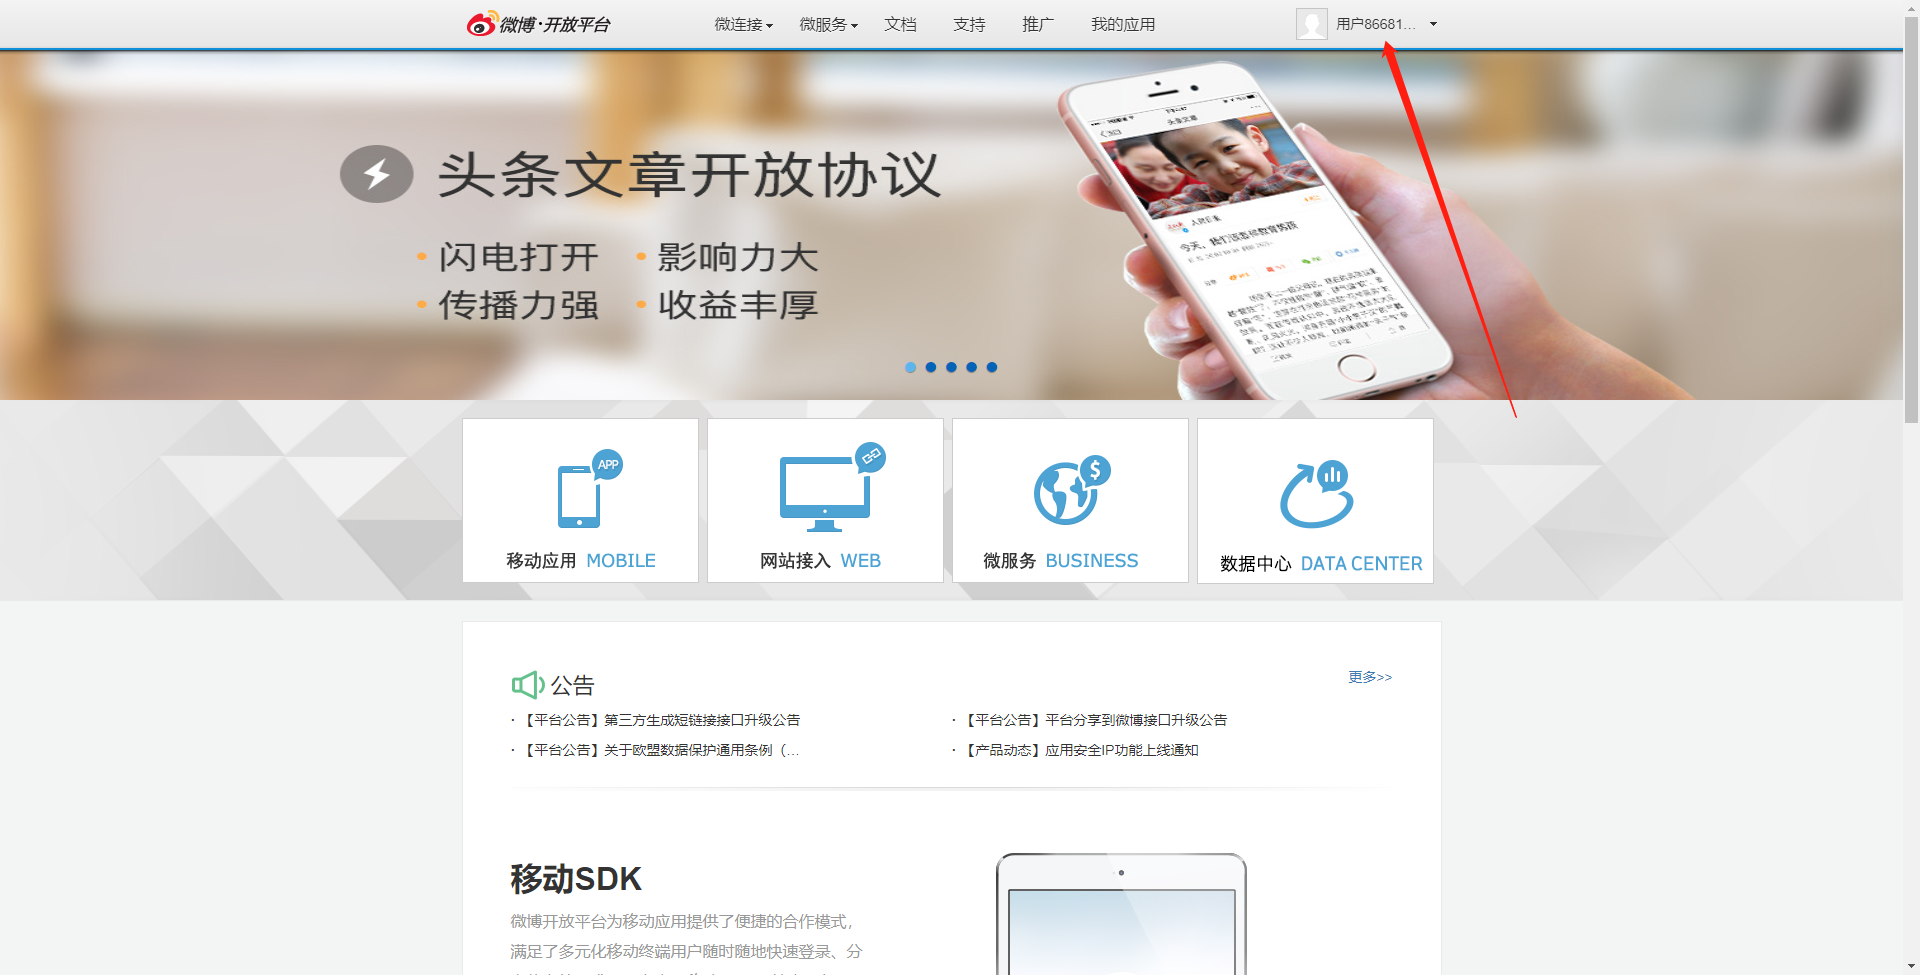
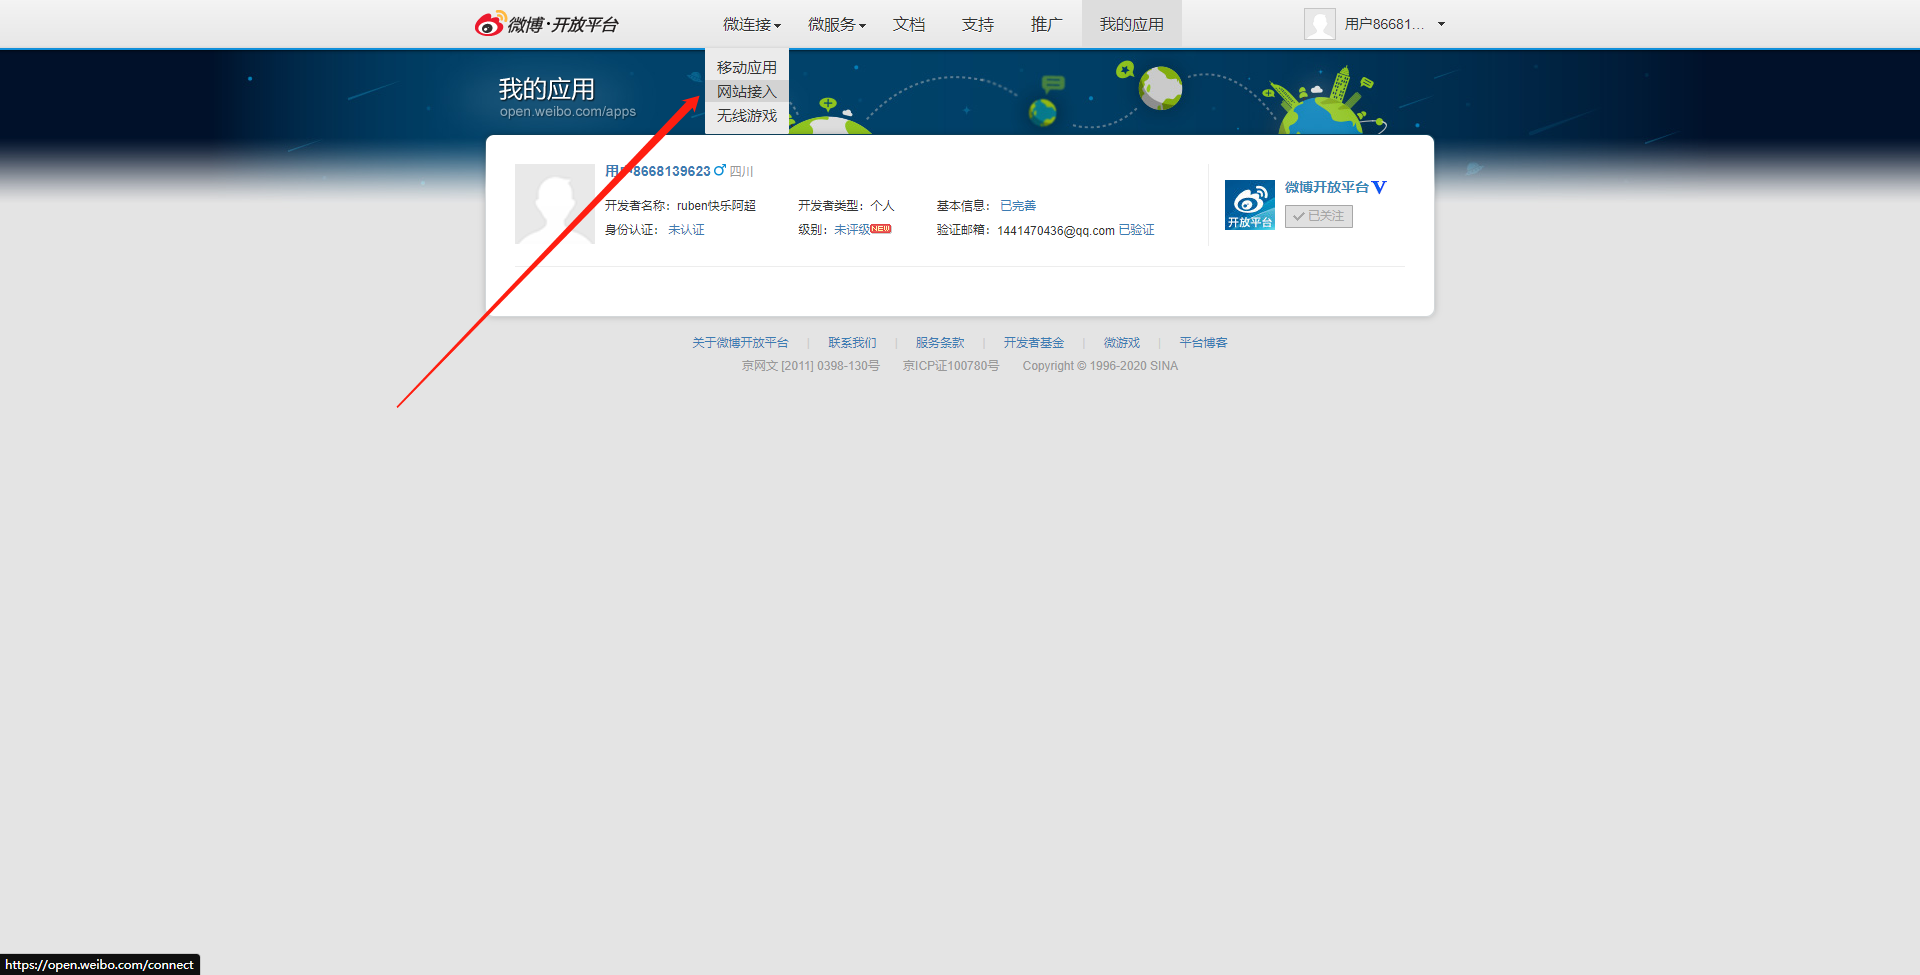
点击我的应用

点击完善信息
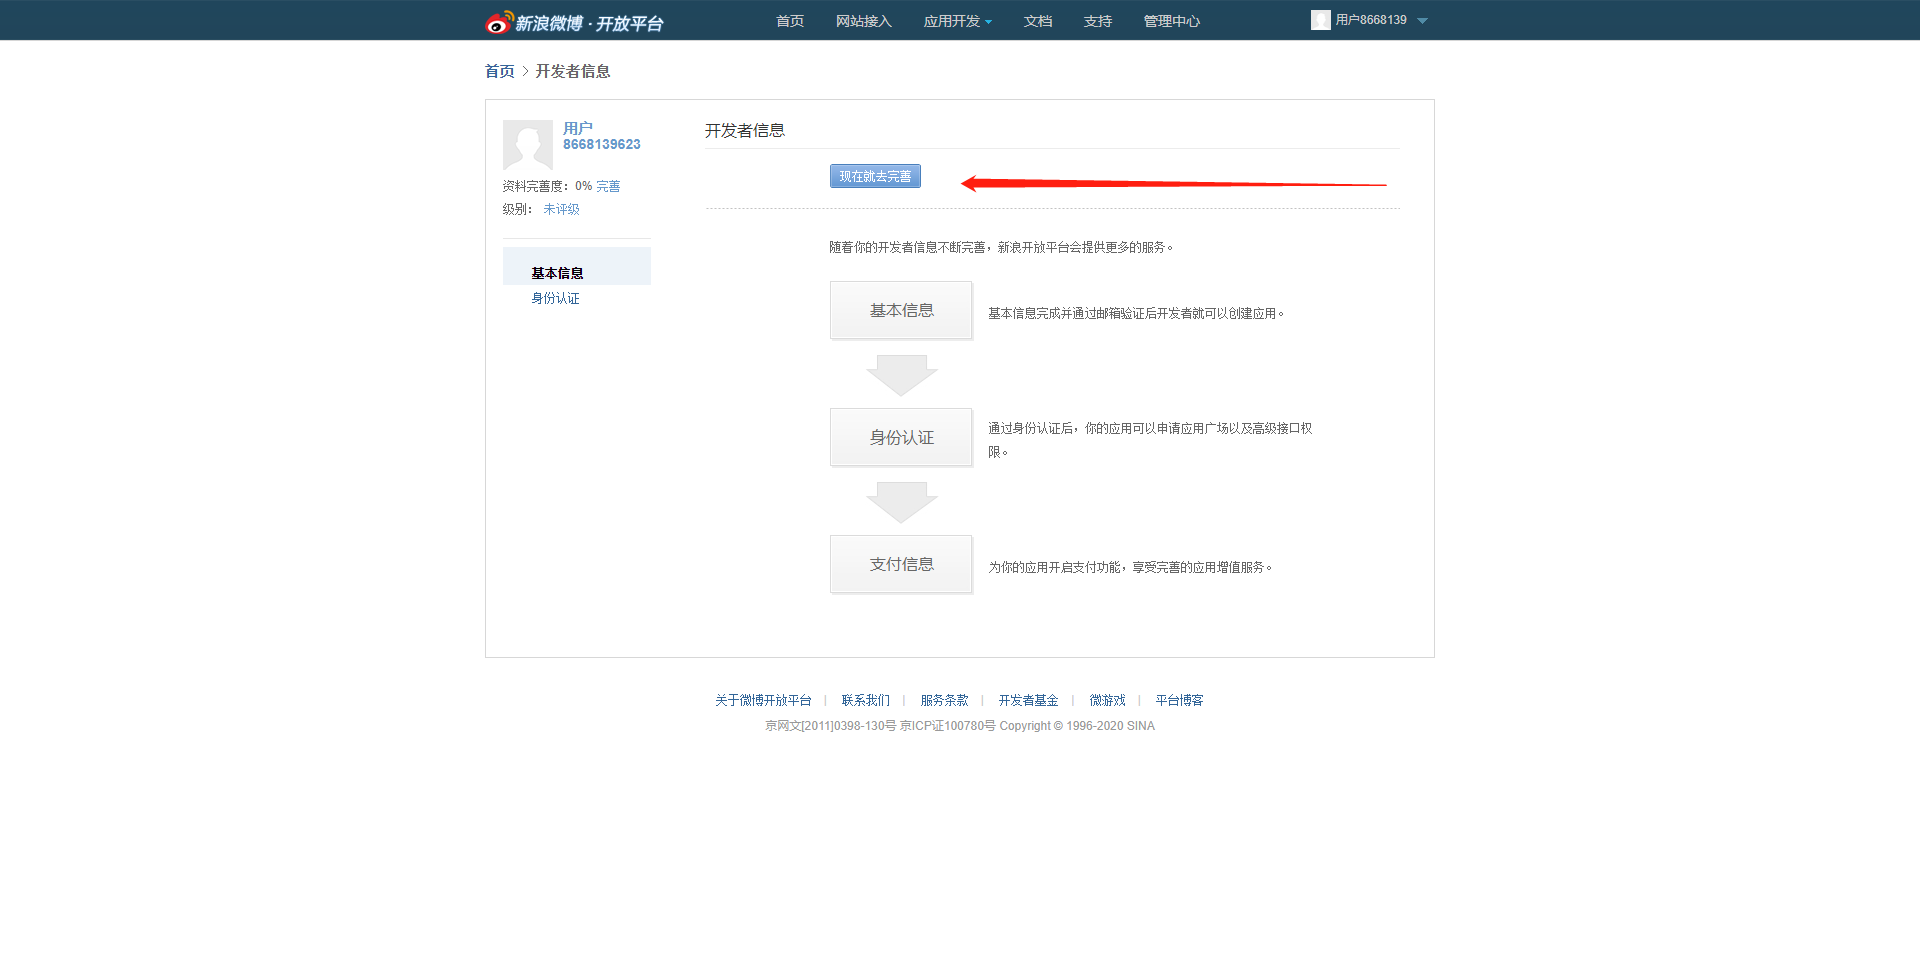
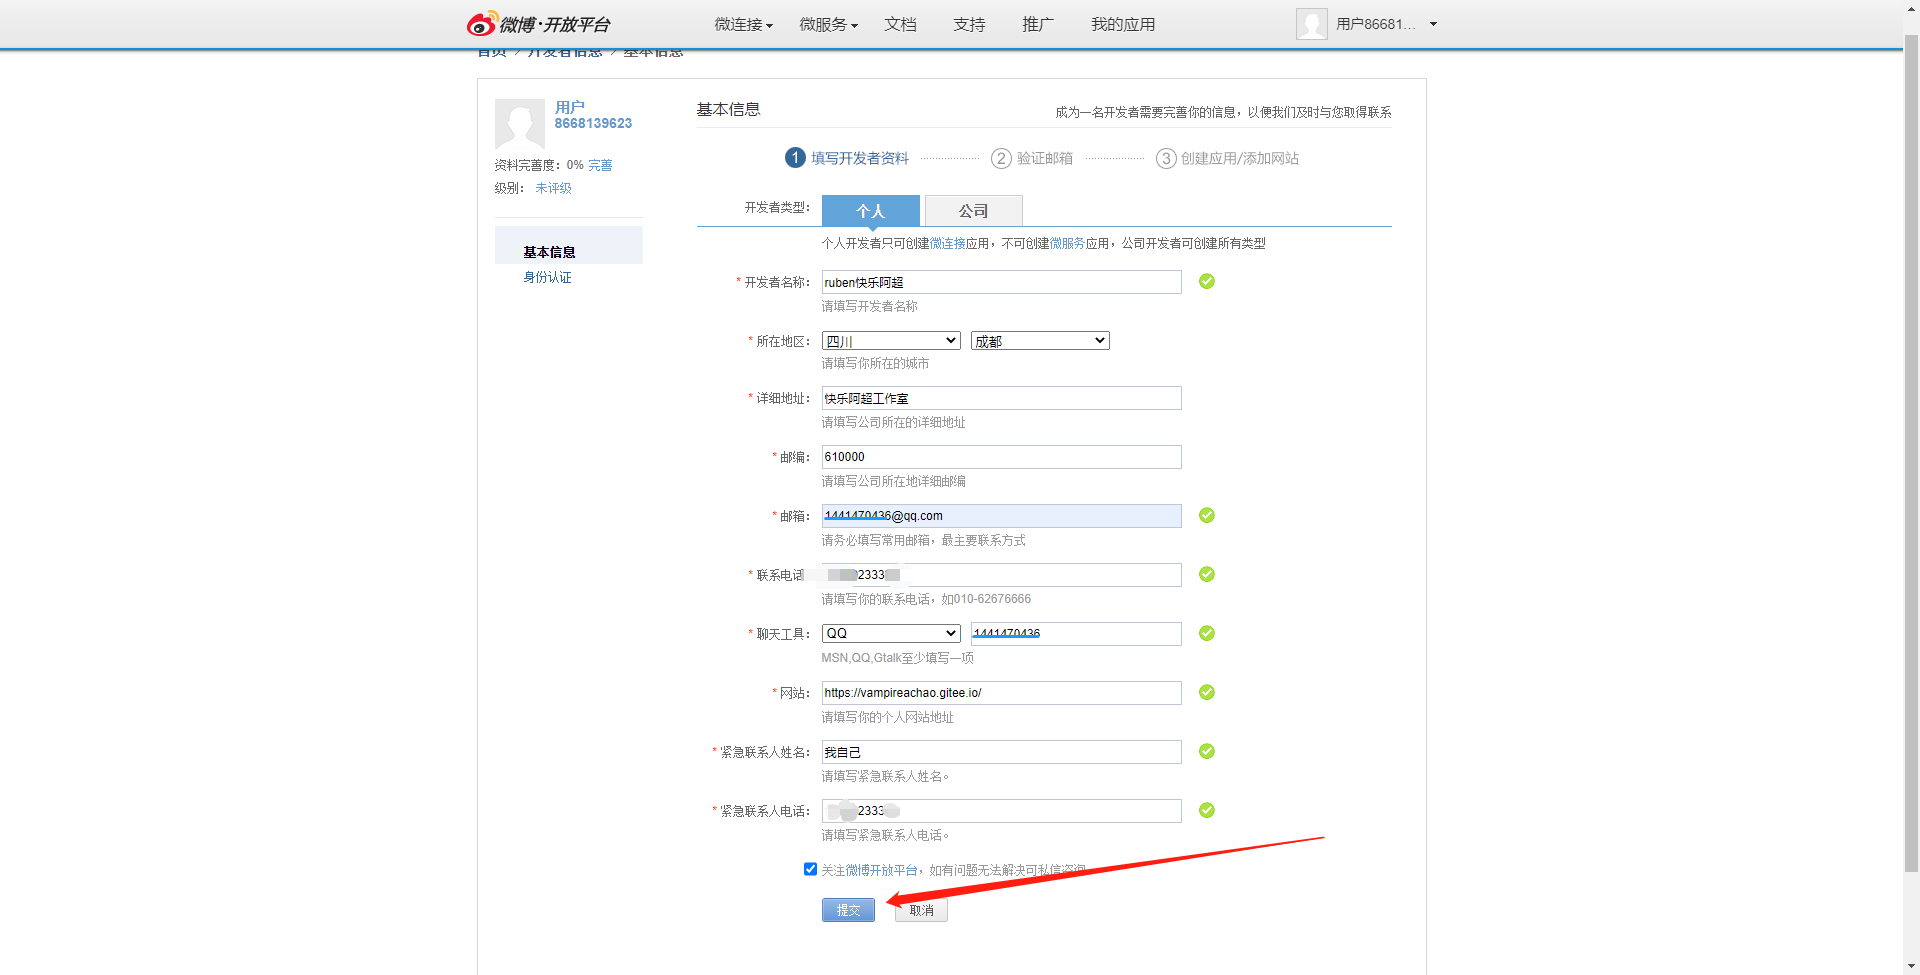
基本信息为已完善的时候
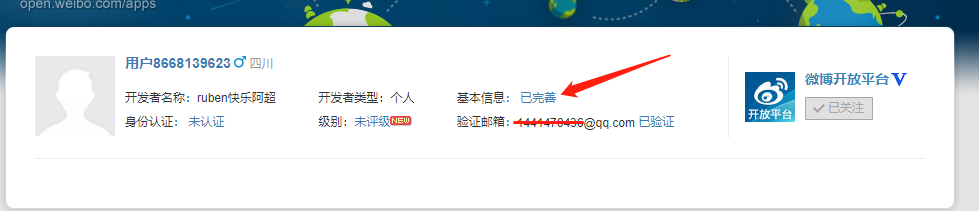
就可以创建应用了
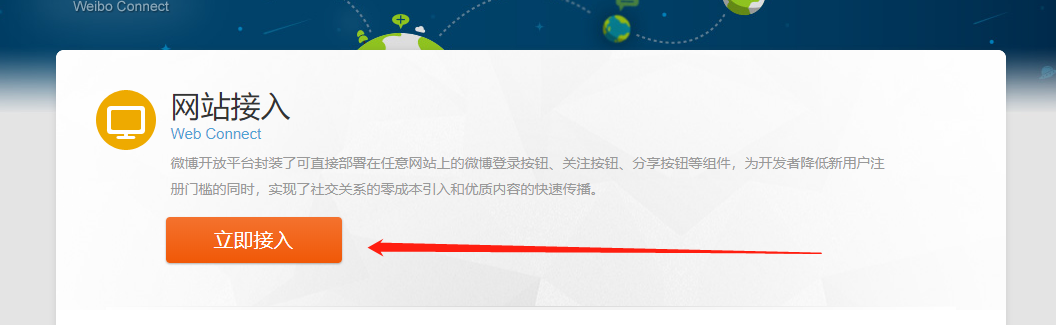
点击网站接入
点击接入
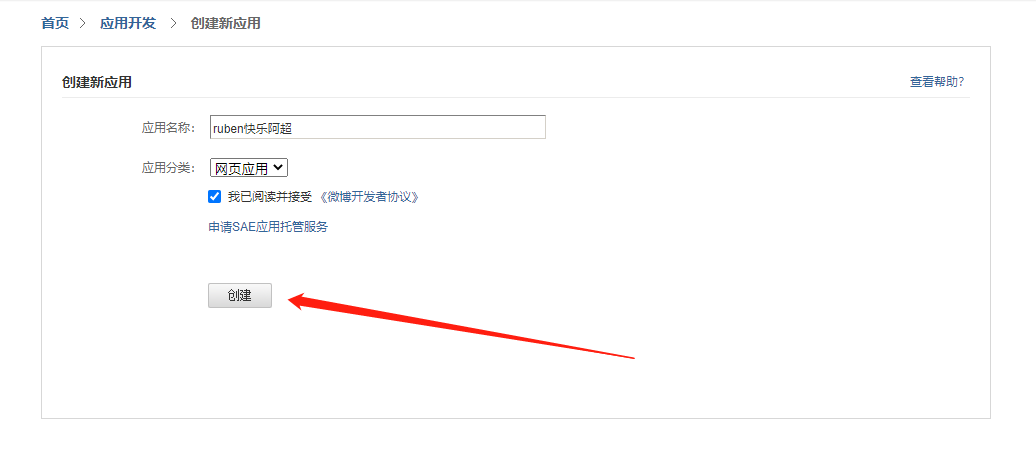
然后创建
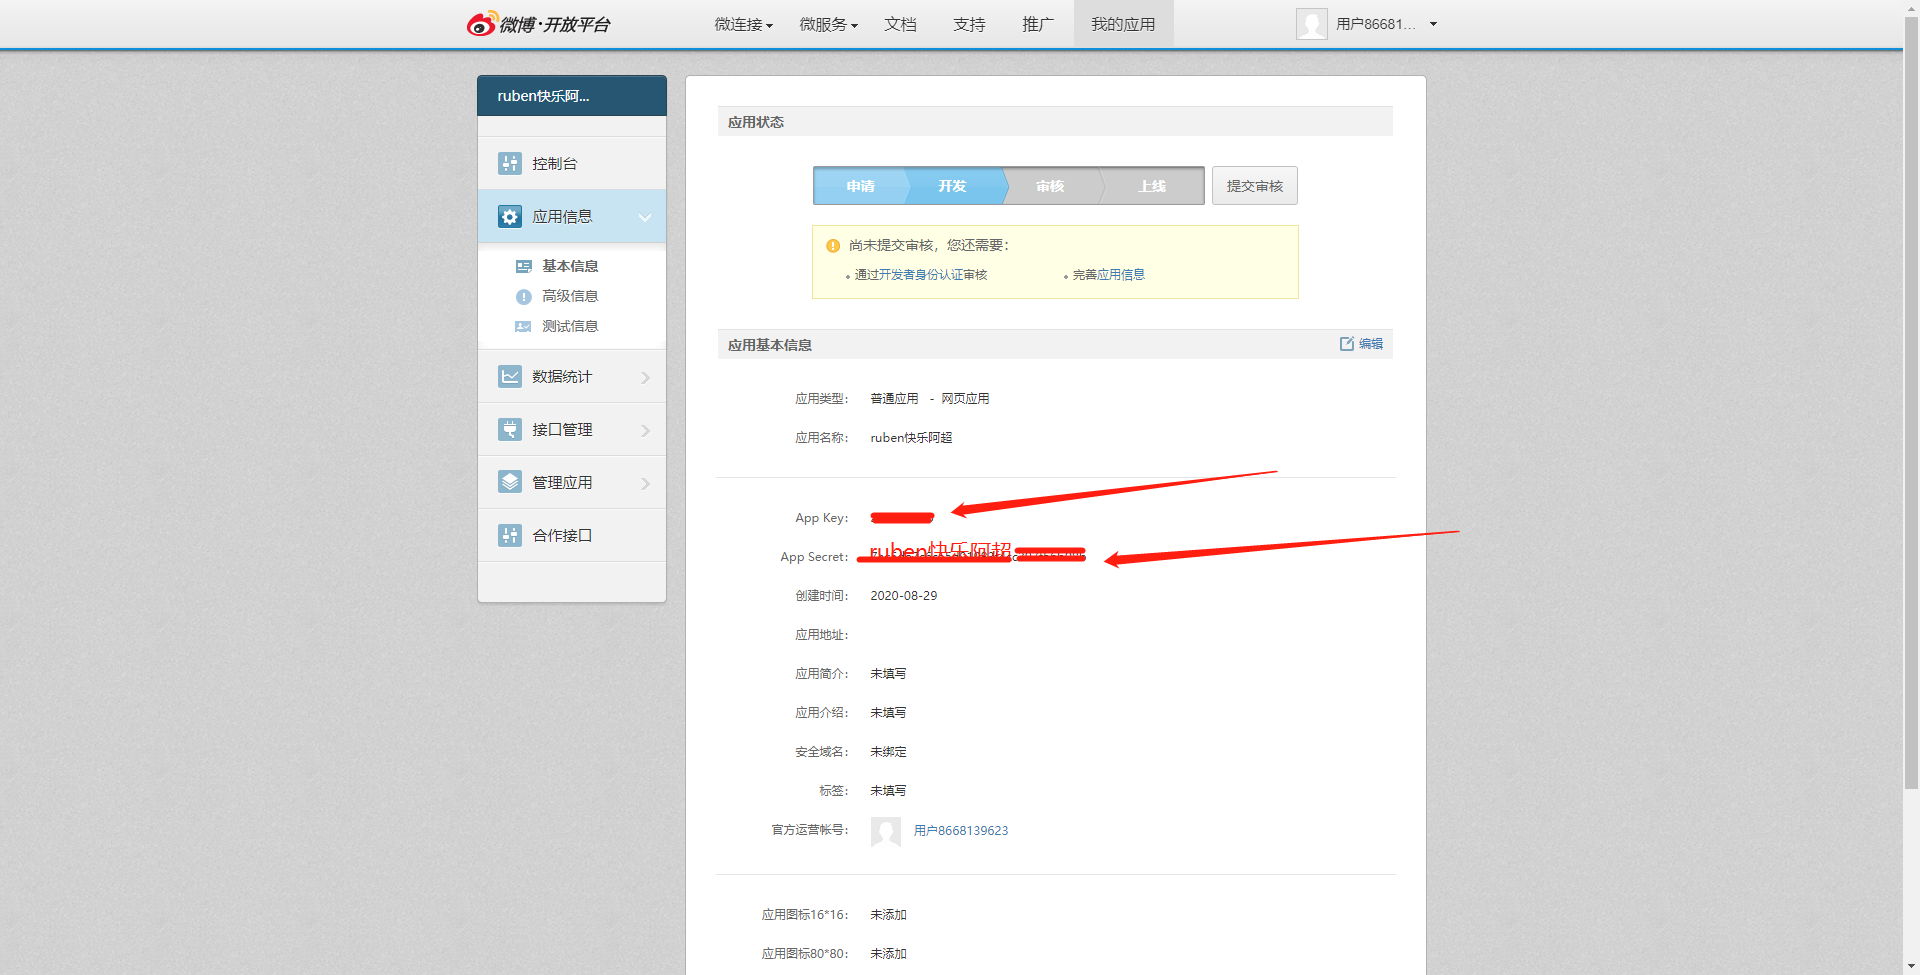
把App Key和App Secret复制下来
然后到我们的web项目
引入依赖
1
2
3
4
5
| <dependency>
<groupId>me.zhyd.oauth</groupId>
<artifactId>JustAuth</artifactId>
<version>1.15.6</version>
</dependency>
|

然后编写代码
1
2
3
4
5
6
7
8
9
10
11
12
13
14
15
16
17
18
19
20
21
22
23
24
25
26
27
28
29
30
31
32
33
34
35
36
37
38
39
40
41
42
43
44
45
46
47
48
49
50
51
52
53
54
55
56
57
58
59
60
61
62
63
64
65
66
67
68
69
| package com.ruben.controller;
import me.zhyd.oauth.config.AuthConfig;
import me.zhyd.oauth.model.AuthCallback;
import me.zhyd.oauth.model.AuthToken;
import me.zhyd.oauth.request.AuthRequest;
import me.zhyd.oauth.request.AuthWeiboRequest;
import me.zhyd.oauth.utils.AuthStateUtils;
import org.springframework.web.bind.annotation.PathVariable;
import org.springframework.web.bind.annotation.RequestMapping;
import org.springframework.web.bind.annotation.RestController;
import javax.servlet.http.HttpServletResponse;
import java.io.IOException;
@RestController
@RequestMapping("/oauth/weibo")
public class RestAuthController {
@RequestMapping("/render")
public void renderAuth(HttpServletResponse response) throws IOException {
AuthRequest authRequest = getAuthRequest();
response.sendRedirect(authRequest.authorize(AuthStateUtils.createState()));
}
@RequestMapping("/callback")
public Object login(AuthCallback callback) {
AuthRequest authRequest = getAuthRequest();
return authRequest.login(callback);
}
@RequestMapping("/revoke/{token}")
public Object revokeAuth(@PathVariable("token") String token) throws IOException {
AuthRequest authRequest = getAuthRequest();
return authRequest.revoke(AuthToken.builder().accessToken(token).build());
}
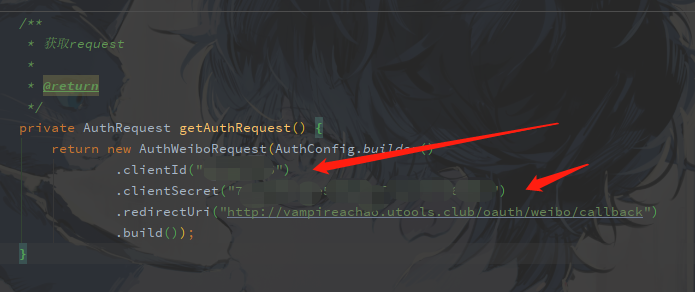
private AuthRequest getAuthRequest() {
return new AuthWeiboRequest(AuthConfig.builder()
.clientId("App Key")
.clientSecret("App Secret")
.redirectUri("授权回调页")
.build());
}
}
|
这时候我们先去配置我们的回调地址
也就是访问/callback接口的完整URL
这里我用utools的一个内网穿透插件让我们的服务器能被外网访问
当然也可以部署到外网服务器去做这一步
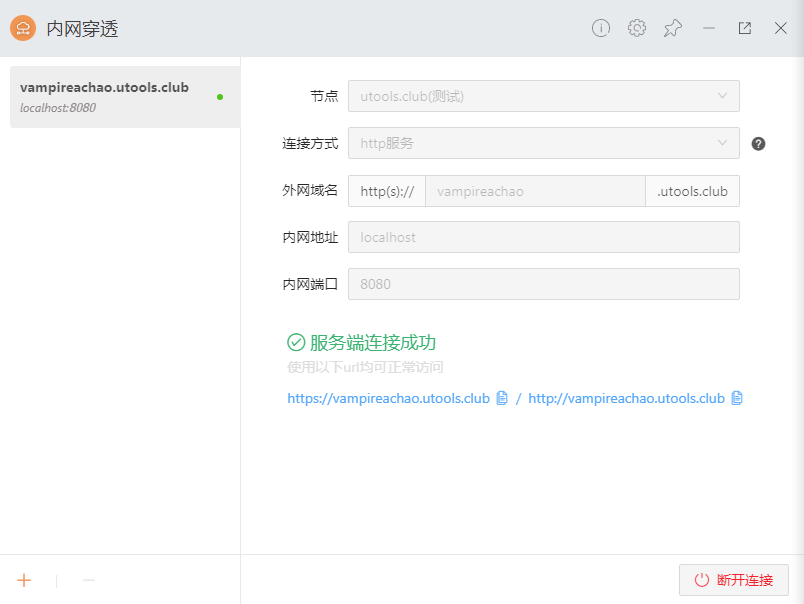
所以我们的回调地址为
http://vampireachao.utools.club/oauth/weibo/callback
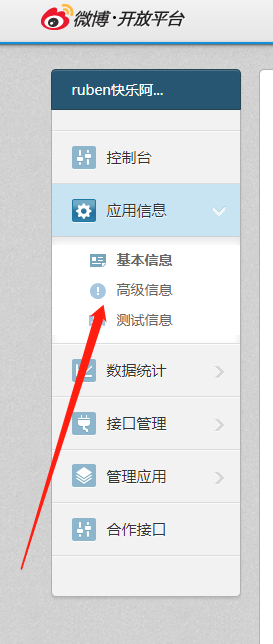
点击高级信息
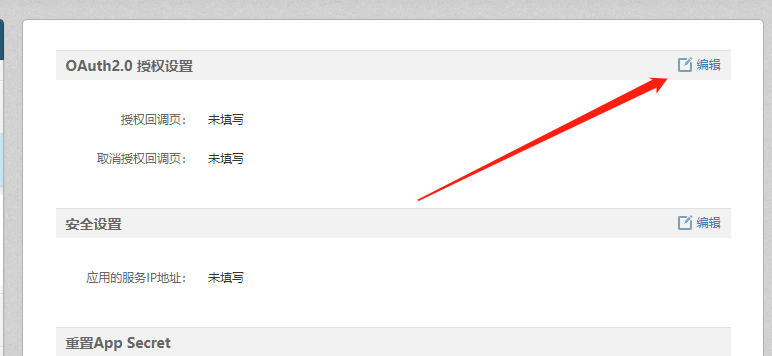
点击编辑
填写完成后提交
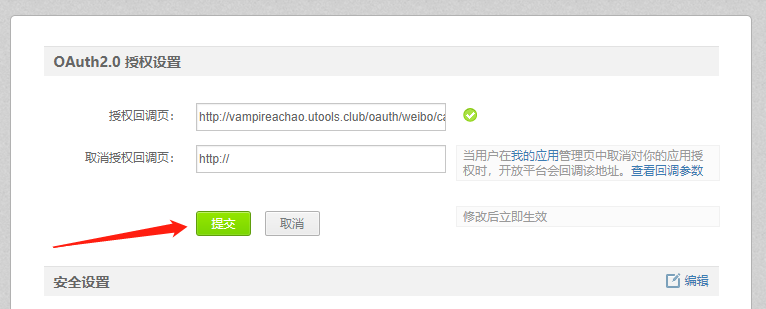

对了,别忘了在代码里配置我们的App Key和App Secret以及回调地址
我们运行我们的项目进行测试
访问
http://vampireachao.utools.club/oauth/weibo/render
可以看到在请求我们的授权了
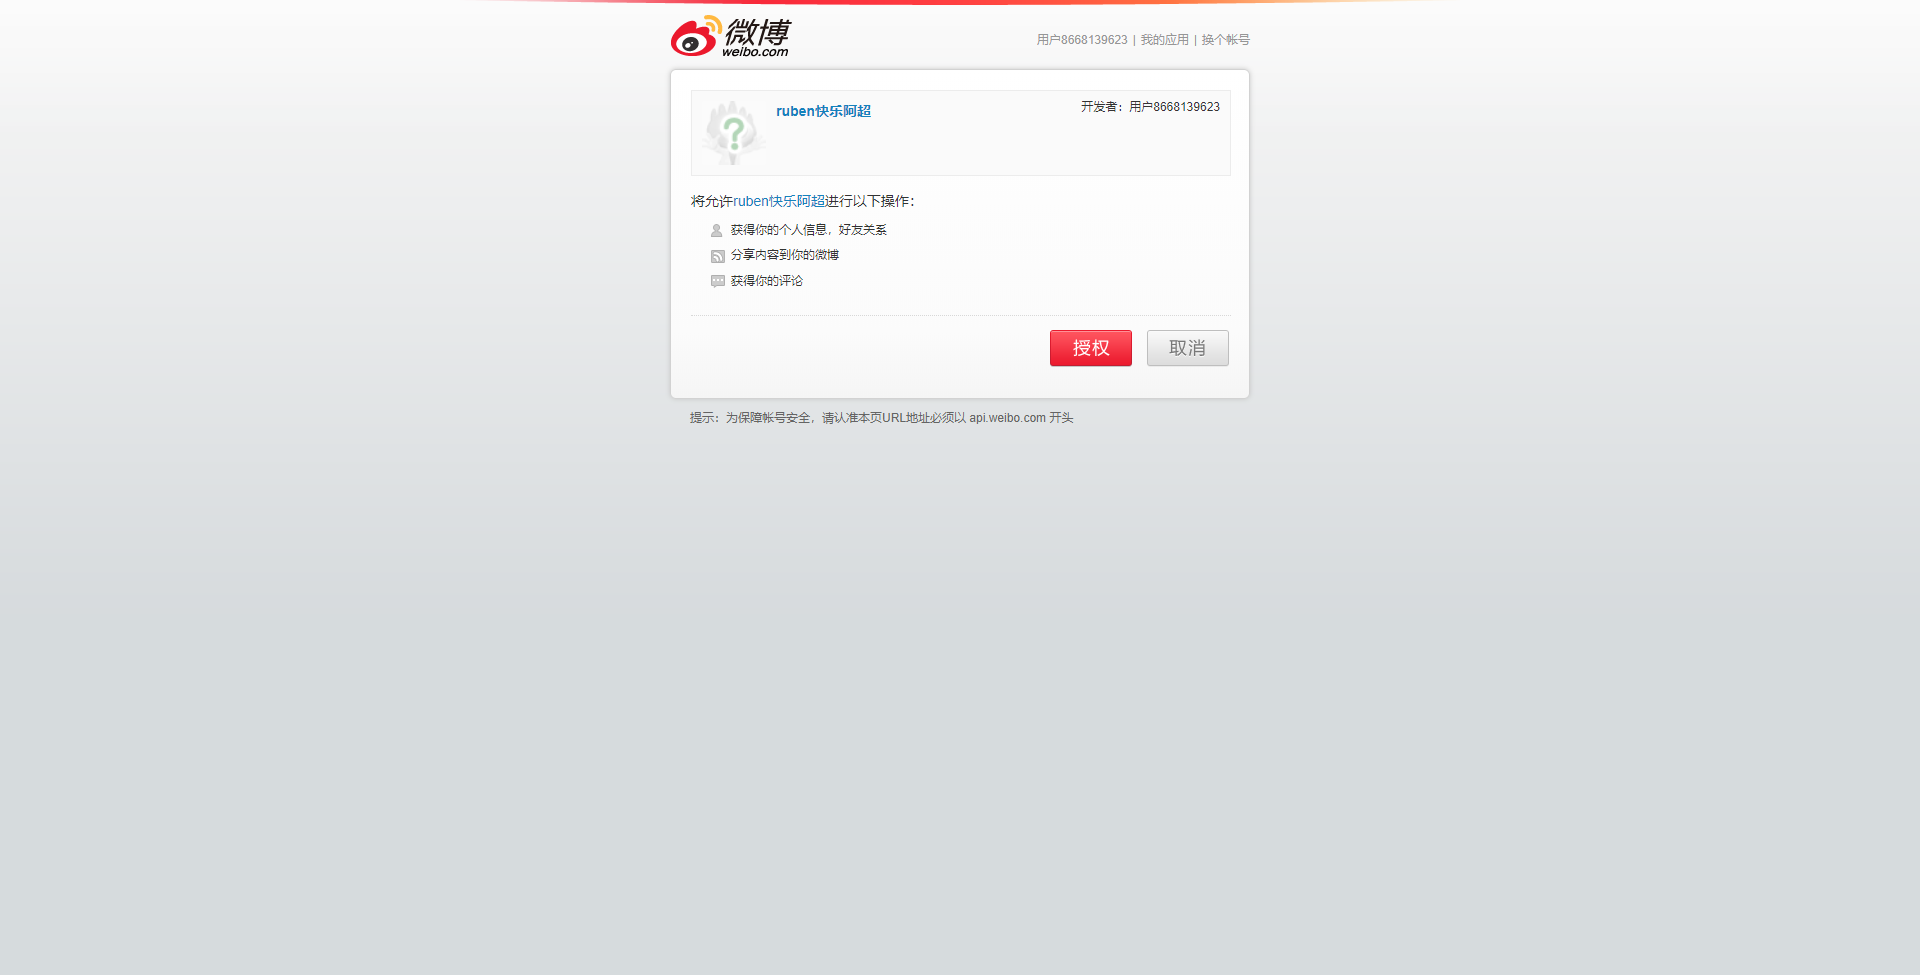
点击授权后可以看到获取到了我们的社交账号信息
其中uuid是我们每个社交账户的唯一标识

我们可以使用这个进行相关逻辑处理
在代码里实现就是这样
1
2
3
4
5
6
7
8
9
10
11
12
13
14
15
16
17
18
19
20
21
22
23
24
25
26
27
28
29
30
31
32
33
34
35
36
|
@SuppressWarnings("unchecked")
@RequestMapping("/callback")
public Object login(AuthCallback callback) {
AuthRequest authRequest = getAuthRequest();
AuthResponse<AuthUser> response = authRequest.login(callback);
if (response.ok()) {
AuthUser authUser = response.getData();
User user = userService.getUserByUuid(authUser.getUuid());
if (user == null) {
user = new User();
user.setUuid(authUser.getUuid());
user.setUsername(authUser.getUsername());
user.setPassword(Encrypt.SHA512(UserConstant.SALT + user.getUsername() + UUID.randomUUID().toString().replace("-", "")));
user = userService.createUser(user);
}
return AjaxJson.success("登录成功!")
.put("token", userService.createToken(user, UserConstant.TOKEN_EXPIRE_TIME))
.put("refreshToken", userService.createToken(user, UserConstant.REFRESH_TOKEN_EXPIRE_TIME));
}
return AjaxJson.error("登陆失败").put("data", response.getMsg());
}
|
是不是很简单?
如果要做绑定解绑的话就得把这两步拆分开
在这一步可以先临时把用户信息放入redis,然后重定向到我们的客户端页面,让客户端页面判断下,如果当前用户登录(存在token)就带着浏览器里的token(身份令牌)和uuid再调用我们服务端的接口进行绑定或解绑
如果当前用户没有token(也就是未登录),就是注册或登录操作,这也是当前实际开发中的方案之一